

How to get the Google Drive API Key
A step-by-step guide to creating a Google Cloud project, enabling the Drive API, and generating credentials

Step 1: Visit the google cloud console
https://cloud.google.com/cloud-console
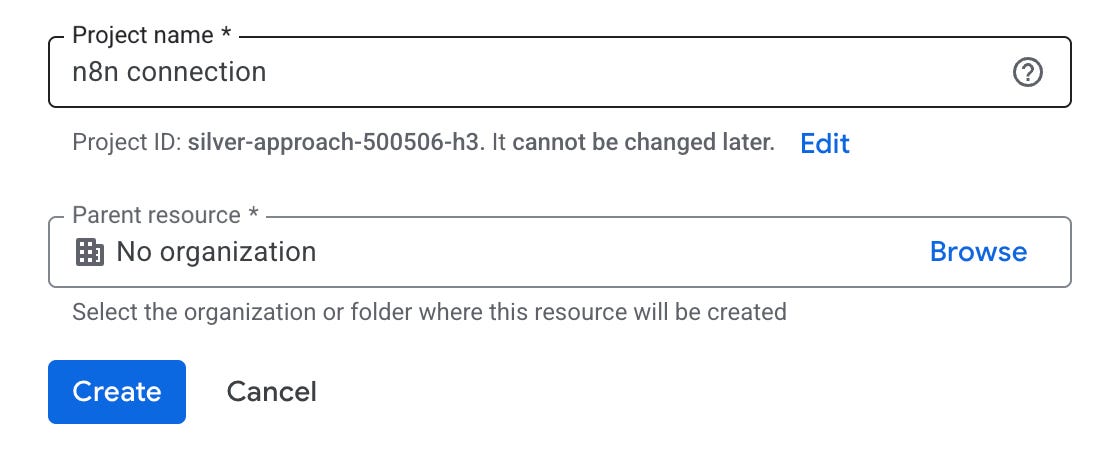
Step 2: Create New Project
A Google Cloud Project is the container for everything.
It provides:
Billing ownership
API quotas
Audit logs
IAM permissions
Resource organization

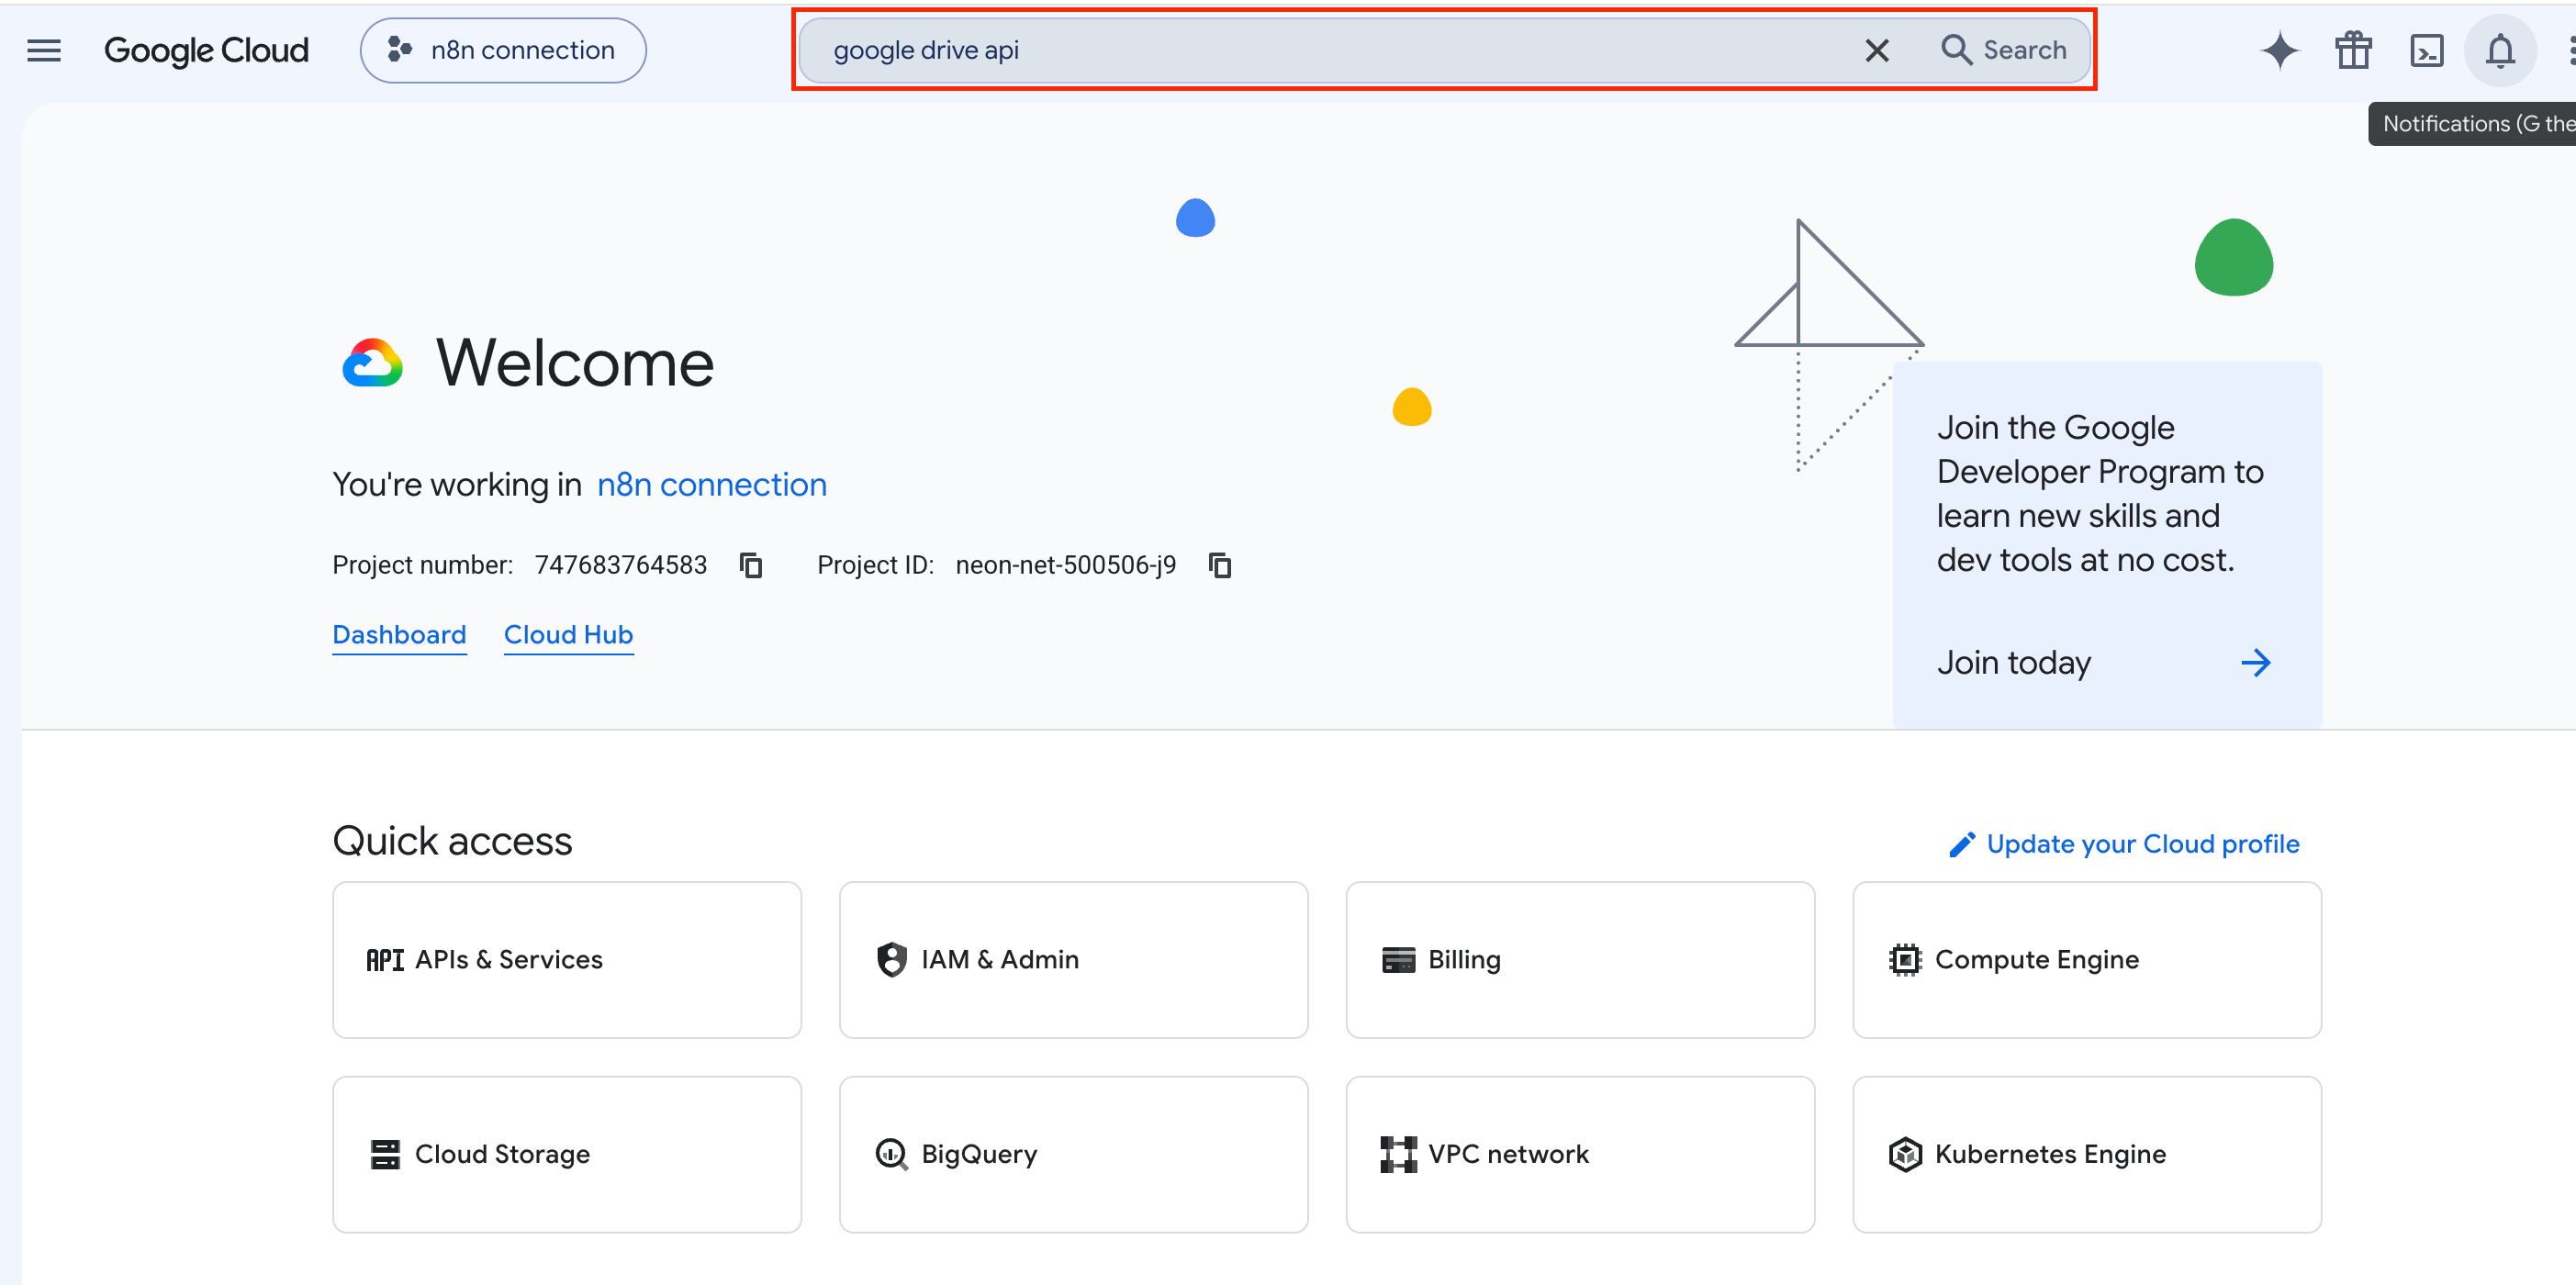
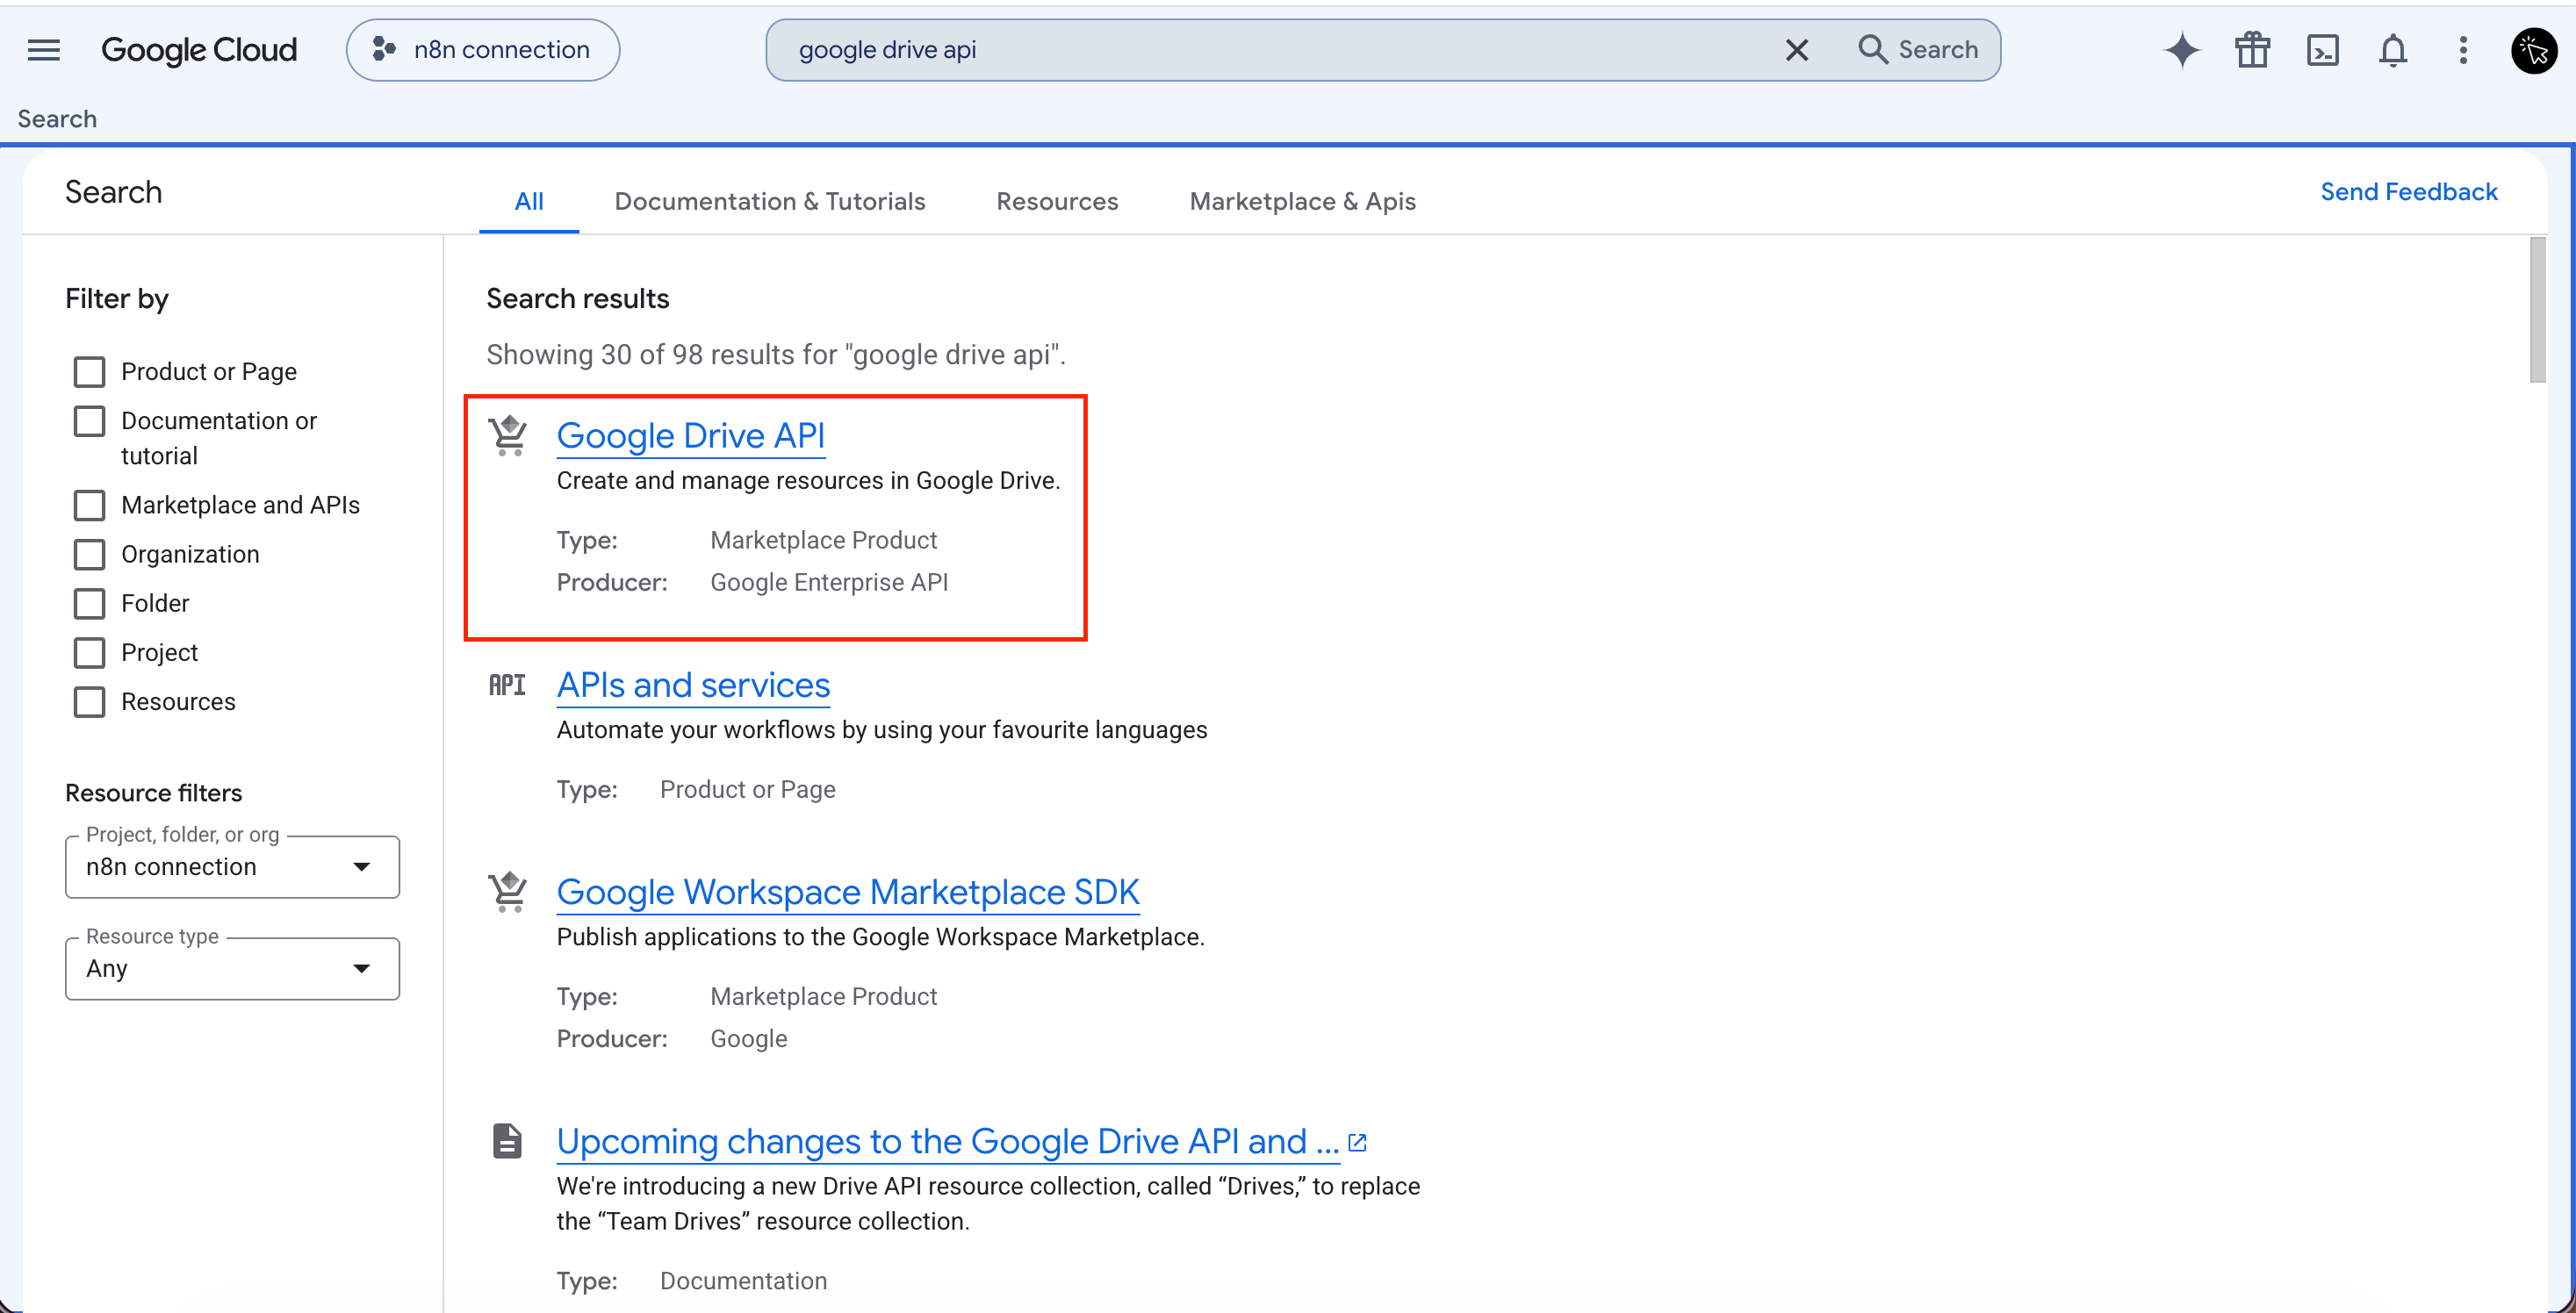
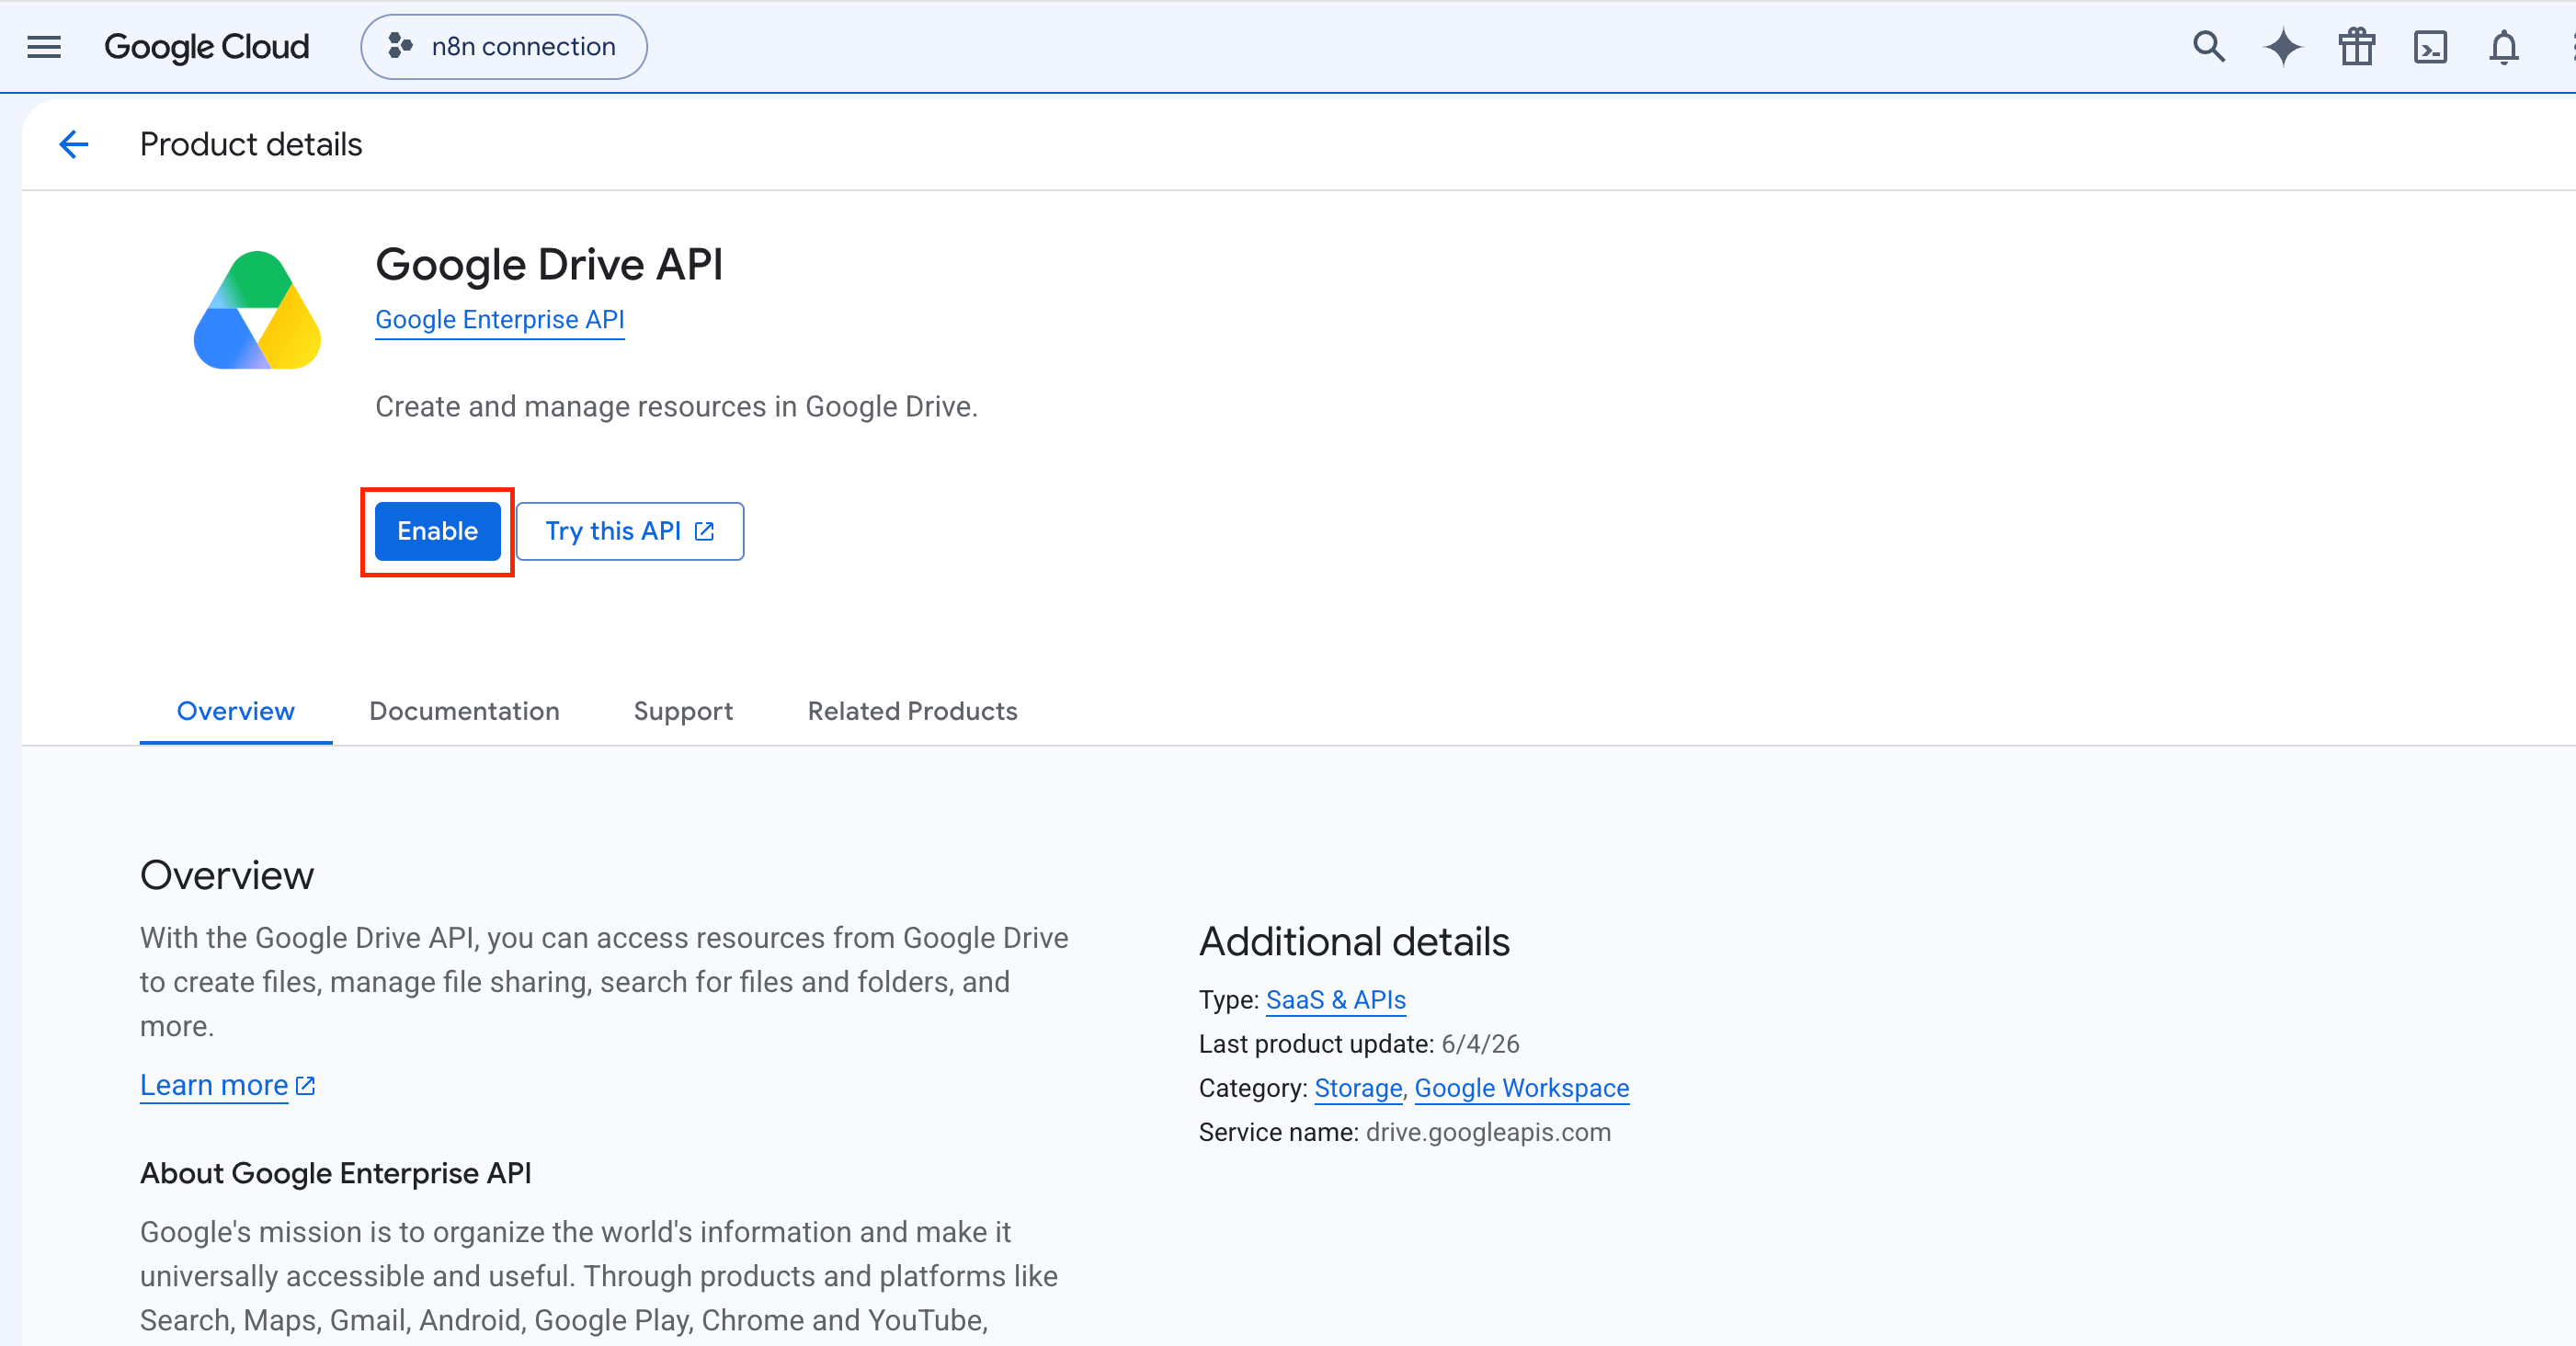
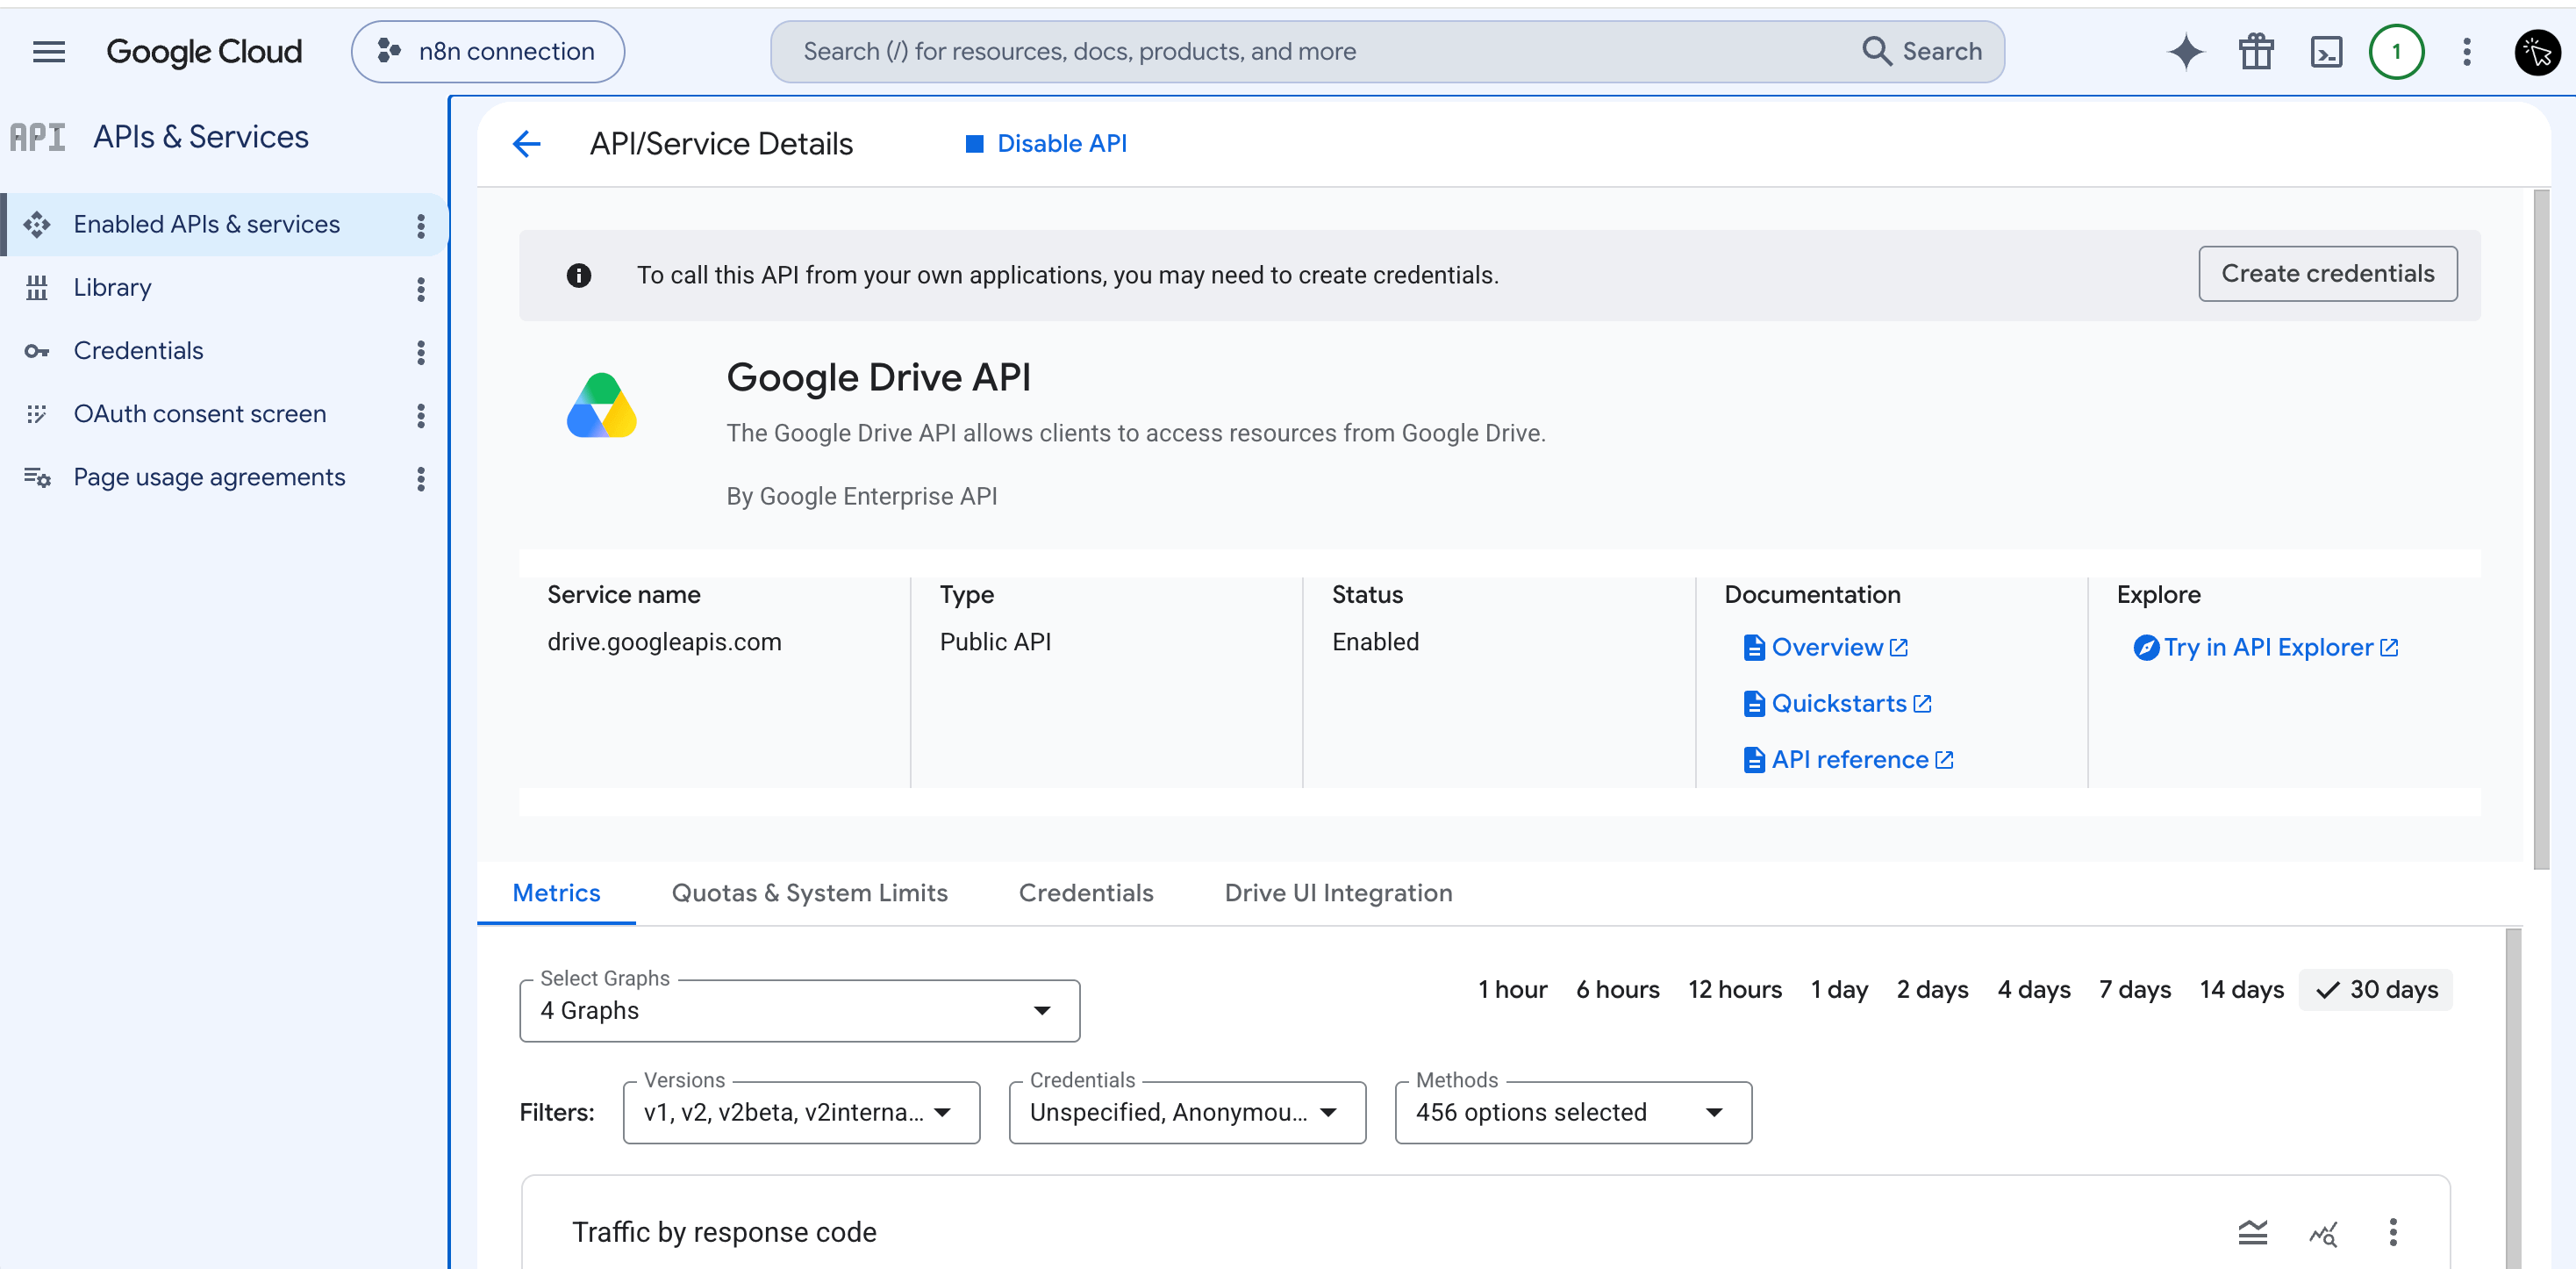
Step 3: Enable API
By default, most APIs are disabled.
You must explicitly enable the APIs you intend to use.
This serves several purposes:
Security (least privilege)
Prevent accidental usage
Control billing and quotas
Make API usage explicit
Step 4: Create Credentials
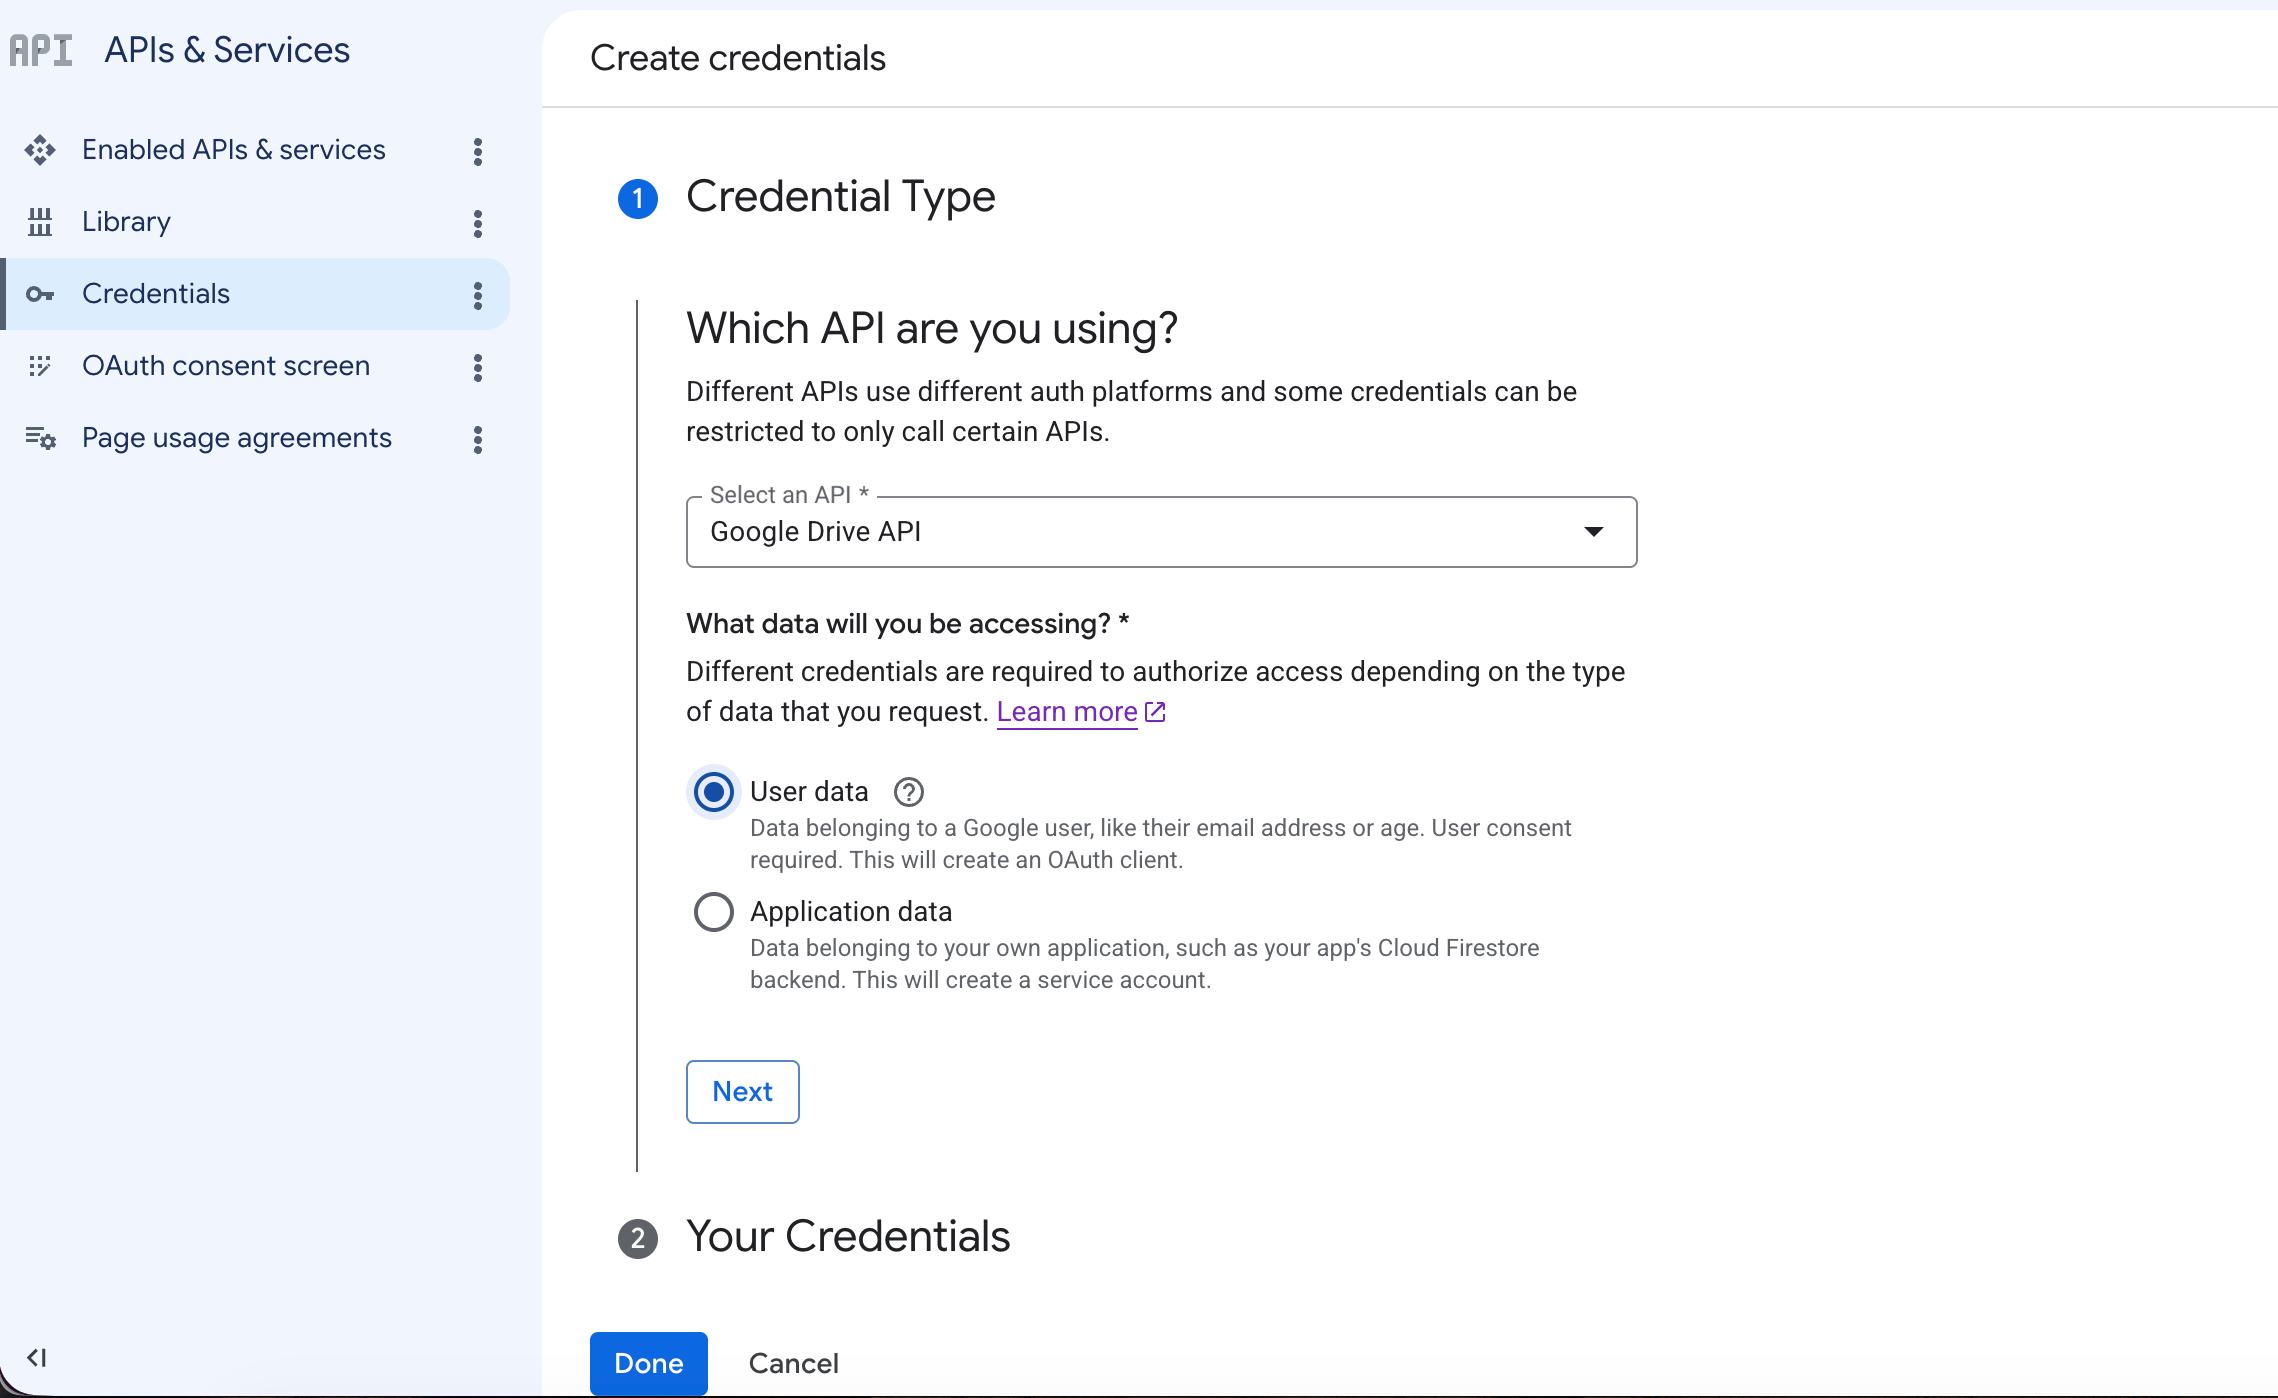
Where does the data live?”
In a user’s Google account?
Or in a Google account/folder dedicated to the application?
Scenario A: User Data
If the data lives in a user’s Google account
John's Google Drive
   ↑
Your application accesses it
Choose:
User Data (OAuth)
Because:
The data belongs to John.
John must grant permission.
Your app acts on John’s behalf.
Examples:
“Import files from my Drive”
“Save report to my Drive”
“Read my Calendar”
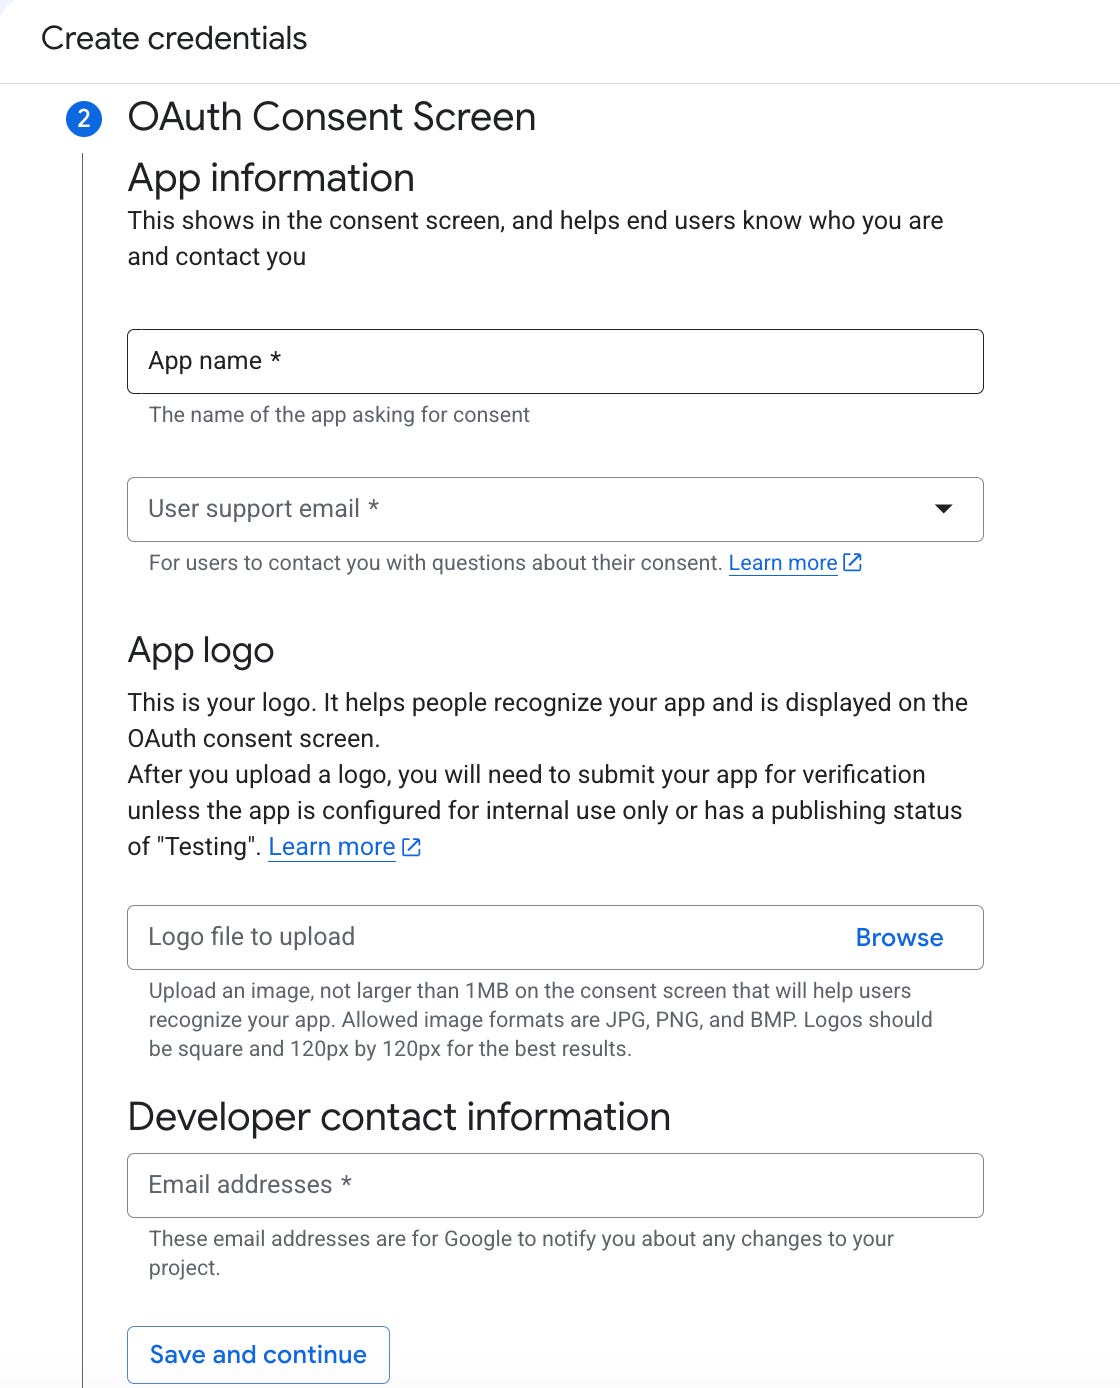
Step 1: Enter App Information
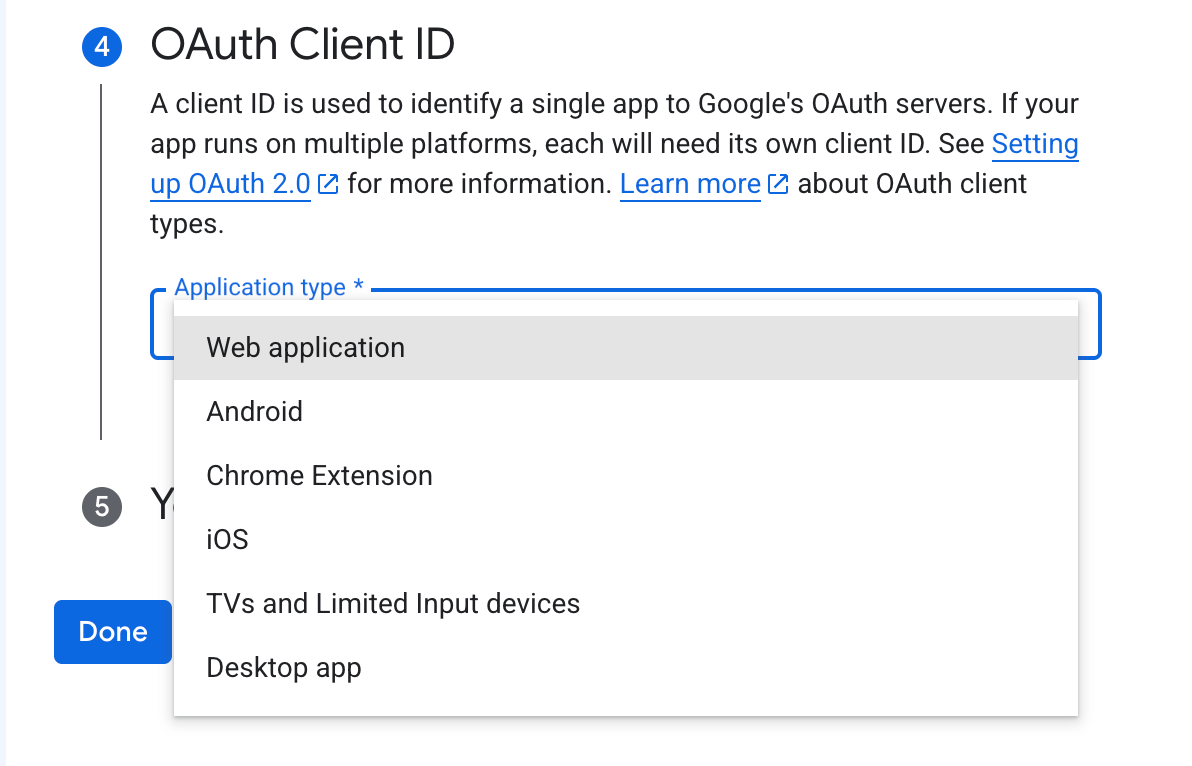
Step 2: Enter Application Type
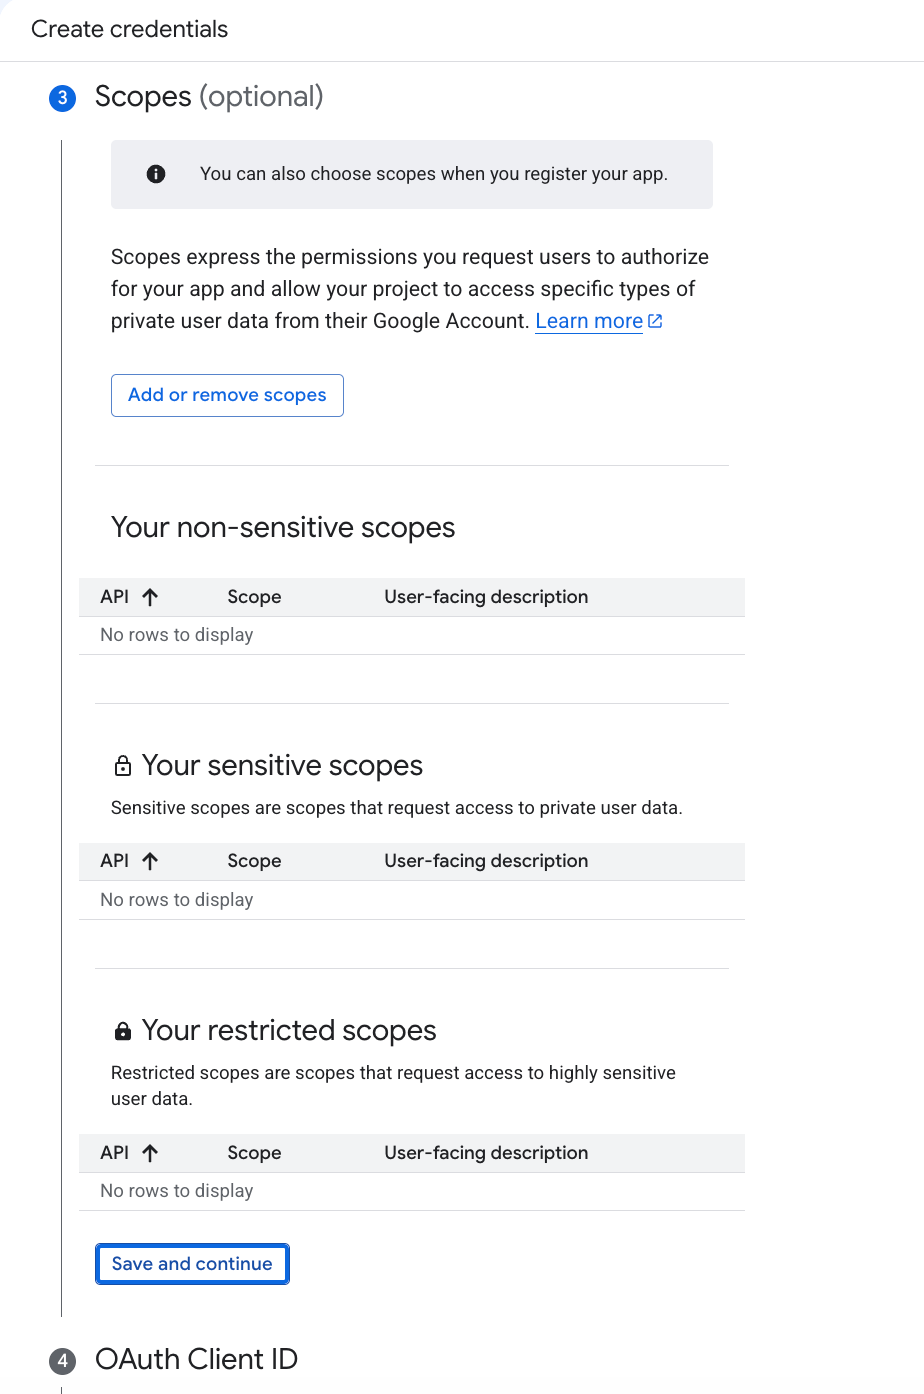
Step 3: Skip Scopes
Step 4: Add authorized redirect URIs

Authorized redirect URIs is the URL that Google sends the user back to after they successfully sign in and grant permission during an OAuth2 flow.
Google requires it so that even an attacker create a fake site and trick Google into sending your OAuth tokens there. Google only redirects to URLs you’ve explicitly approved.
In the general OAuth2 sense, you decide the Authorized Redirect URI because it’s your application’s endpoint that receives the OAuth response from the provider.
For example, if you’re building a web app: https://myapp.com
You might implement an OAuth callback endpoint: https://myapp.com/auth/google/callback
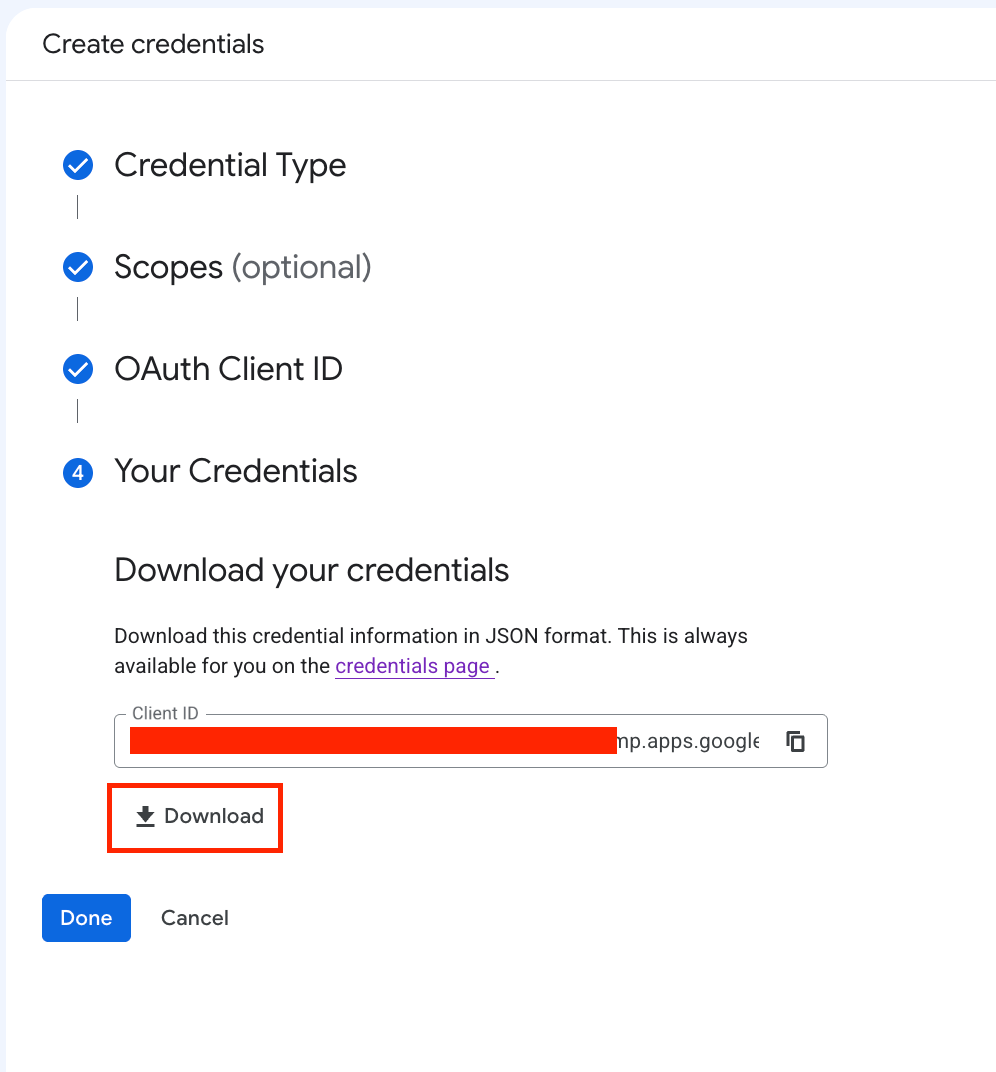
Step 5: Download the credentials
Step 6: Open the credentials
{
  "web":
    {
       "client_id":"XXXX",
       "project_id":"XXXX",
       "auth_uri":"https://accounts.google.com/o/oauth2/auth",
       "token_uri":"https://oauth2.googleapis.com/token",
       "auth_provider_x509_cert_url":"https://www.googleapis.com/oauth2/v1/certs",
       "client_secret":"XXXX",
       "redirect_uris":["https://domain.com/rest/oauth2-credential/callback"]
    }
}
Step 7: Configure OAuth Consent Screen

Step 8: Add app testers
Since your app is in testing mode, add app testers for them to proceed on authentication

Once you’ve added the testers, you can now test the OAuth by passing the client_id, client_secret and OAuth Redirect URL in your own choice of tool like Postman, etc.
Scenario B: Application Data
If the data lives in an application-owned location
Application
   ↓
Shared Drive / Team Folder
   ↓
Screenshots
Choose:
Application Data (Service Account)
Because:
The data belongs to the system or organization.
No end-user consent is needed.
The application acts on its own behalf.
Examples:
Bug report screenshots
Generated reports
Application logs
Backup files
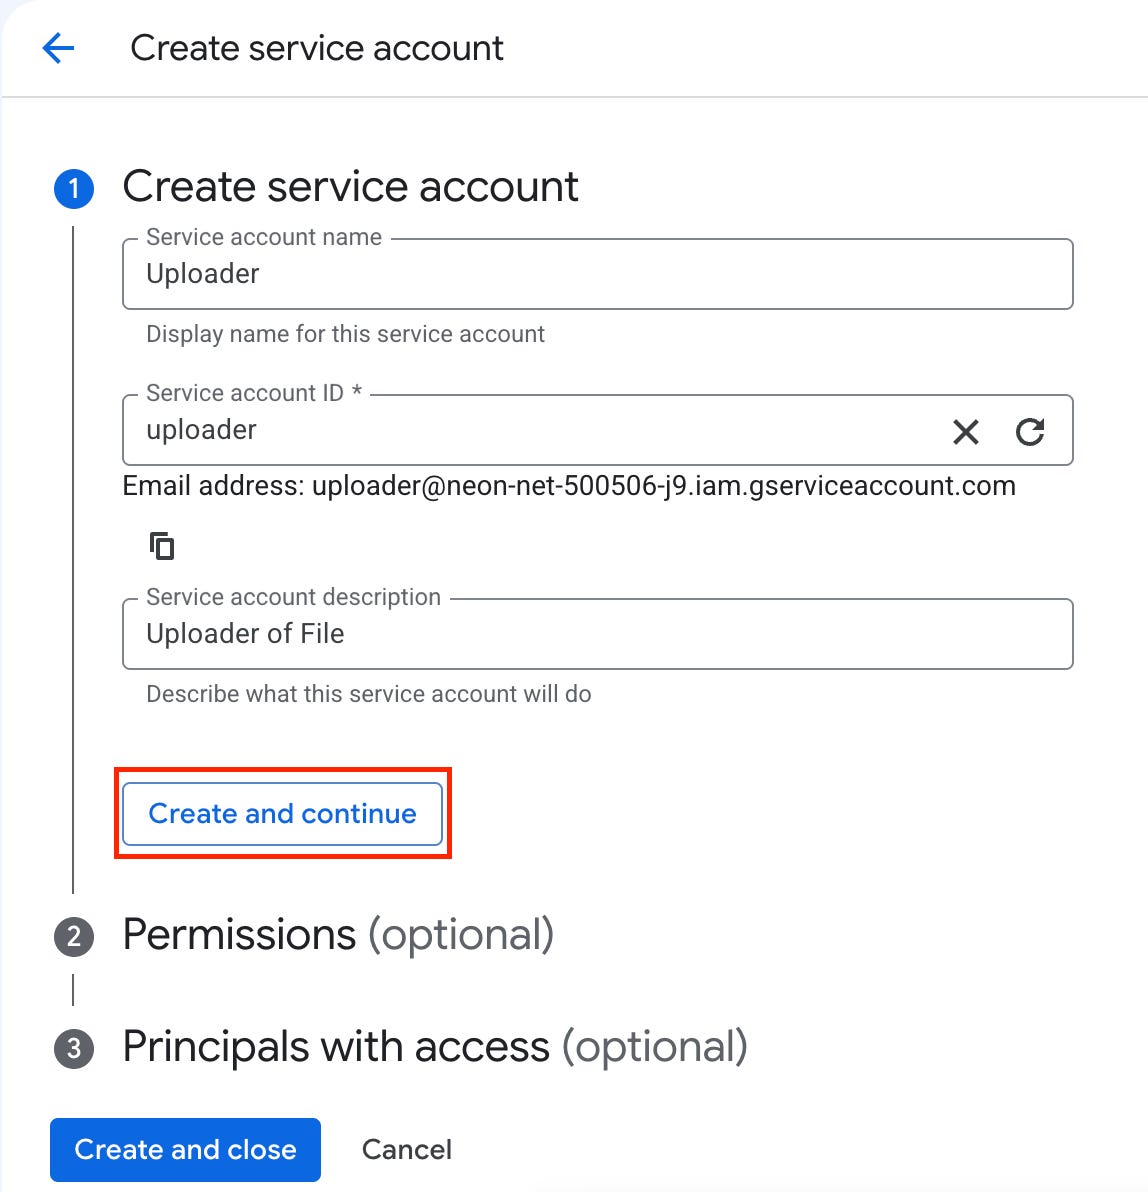
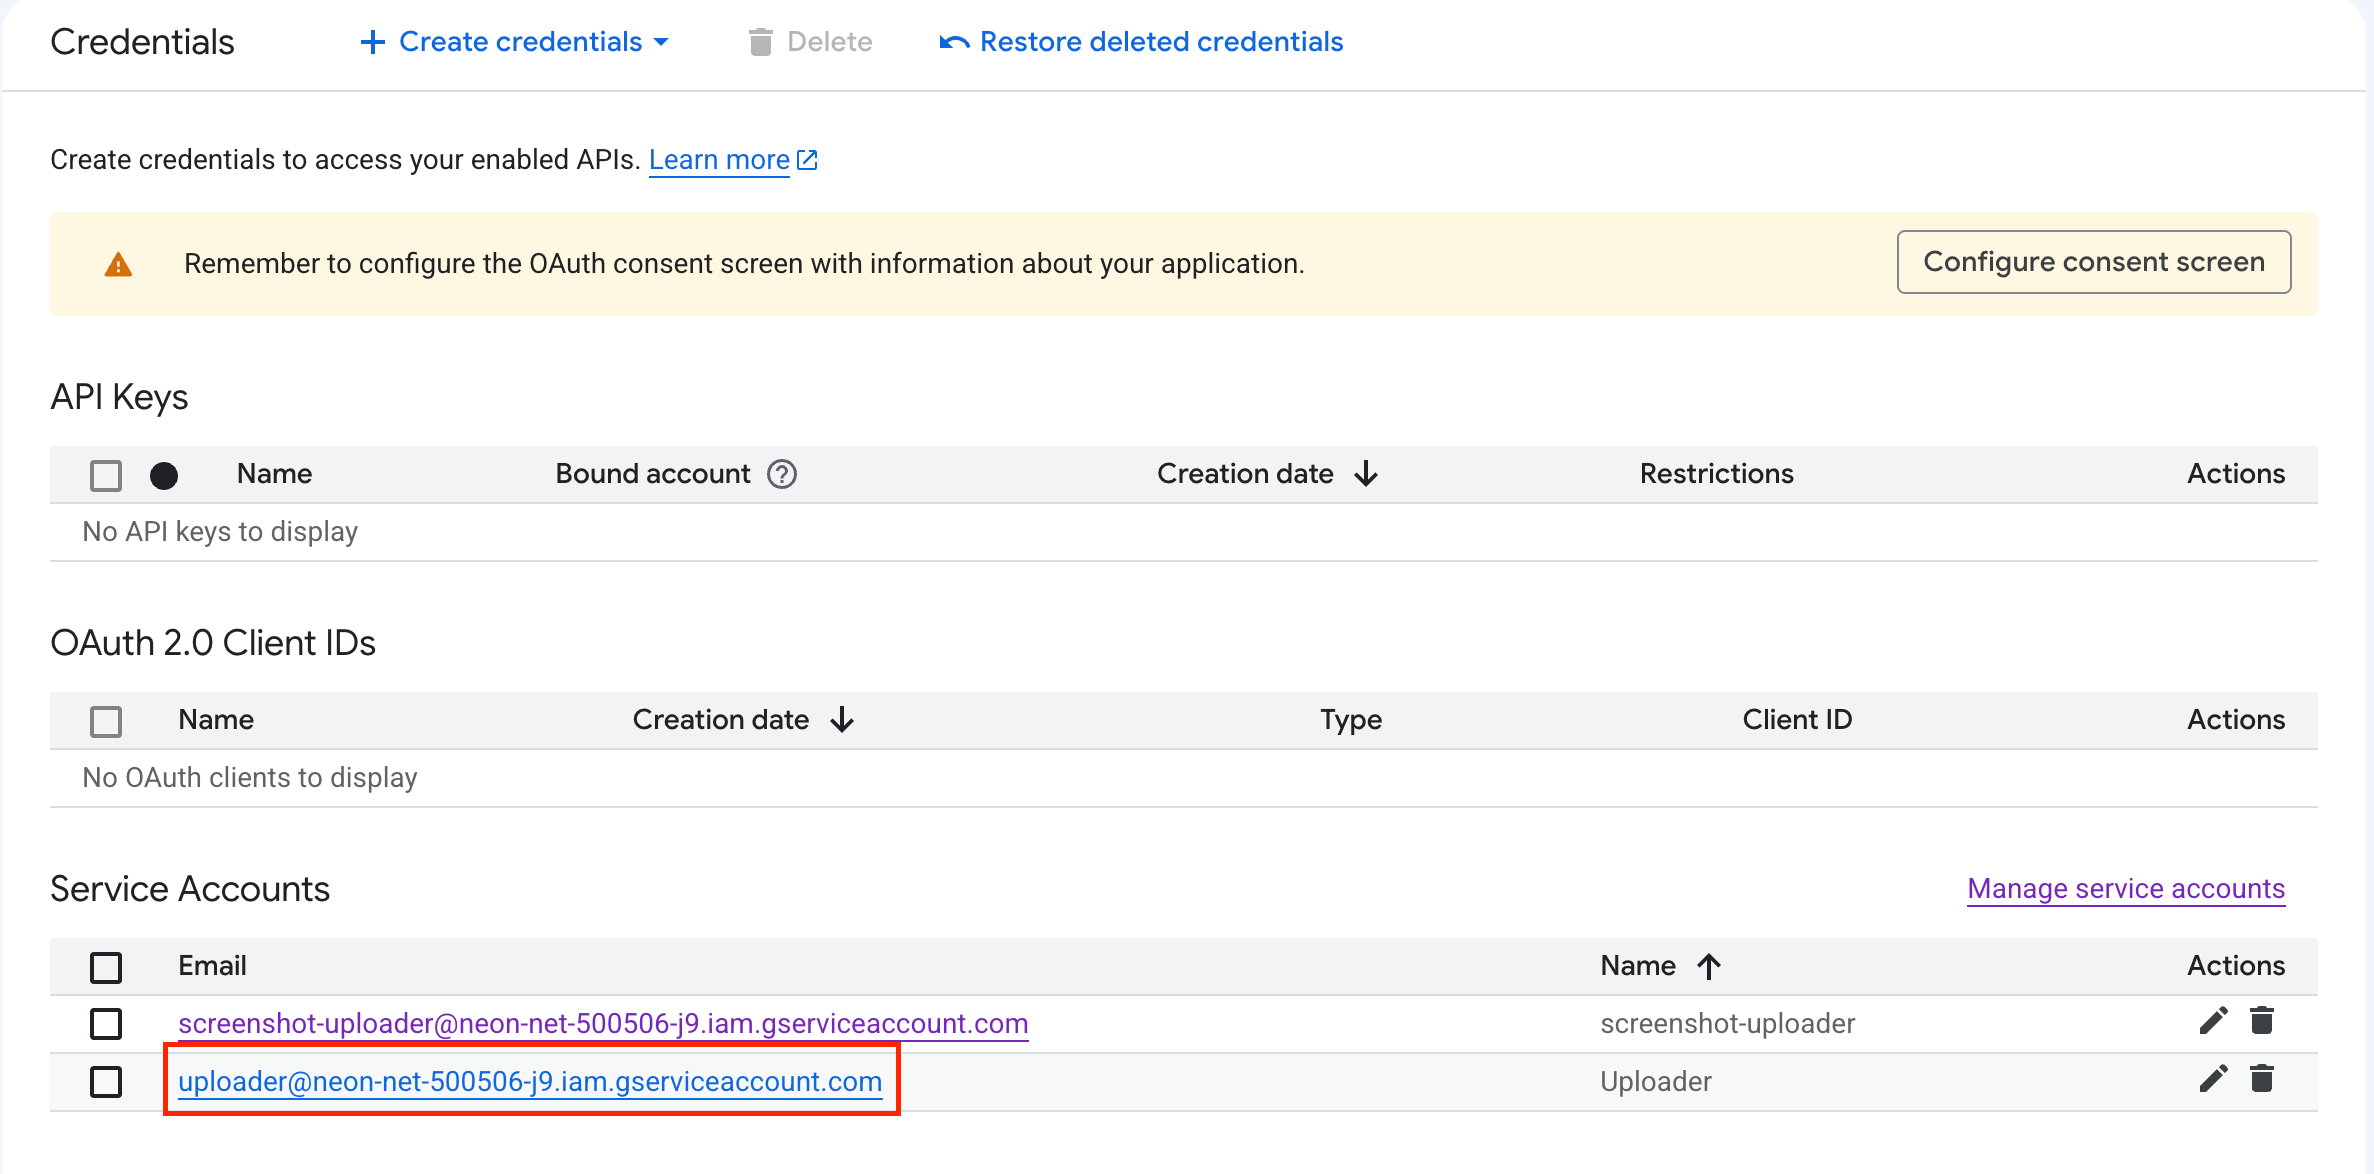
Step 1: Start Creating Service Account
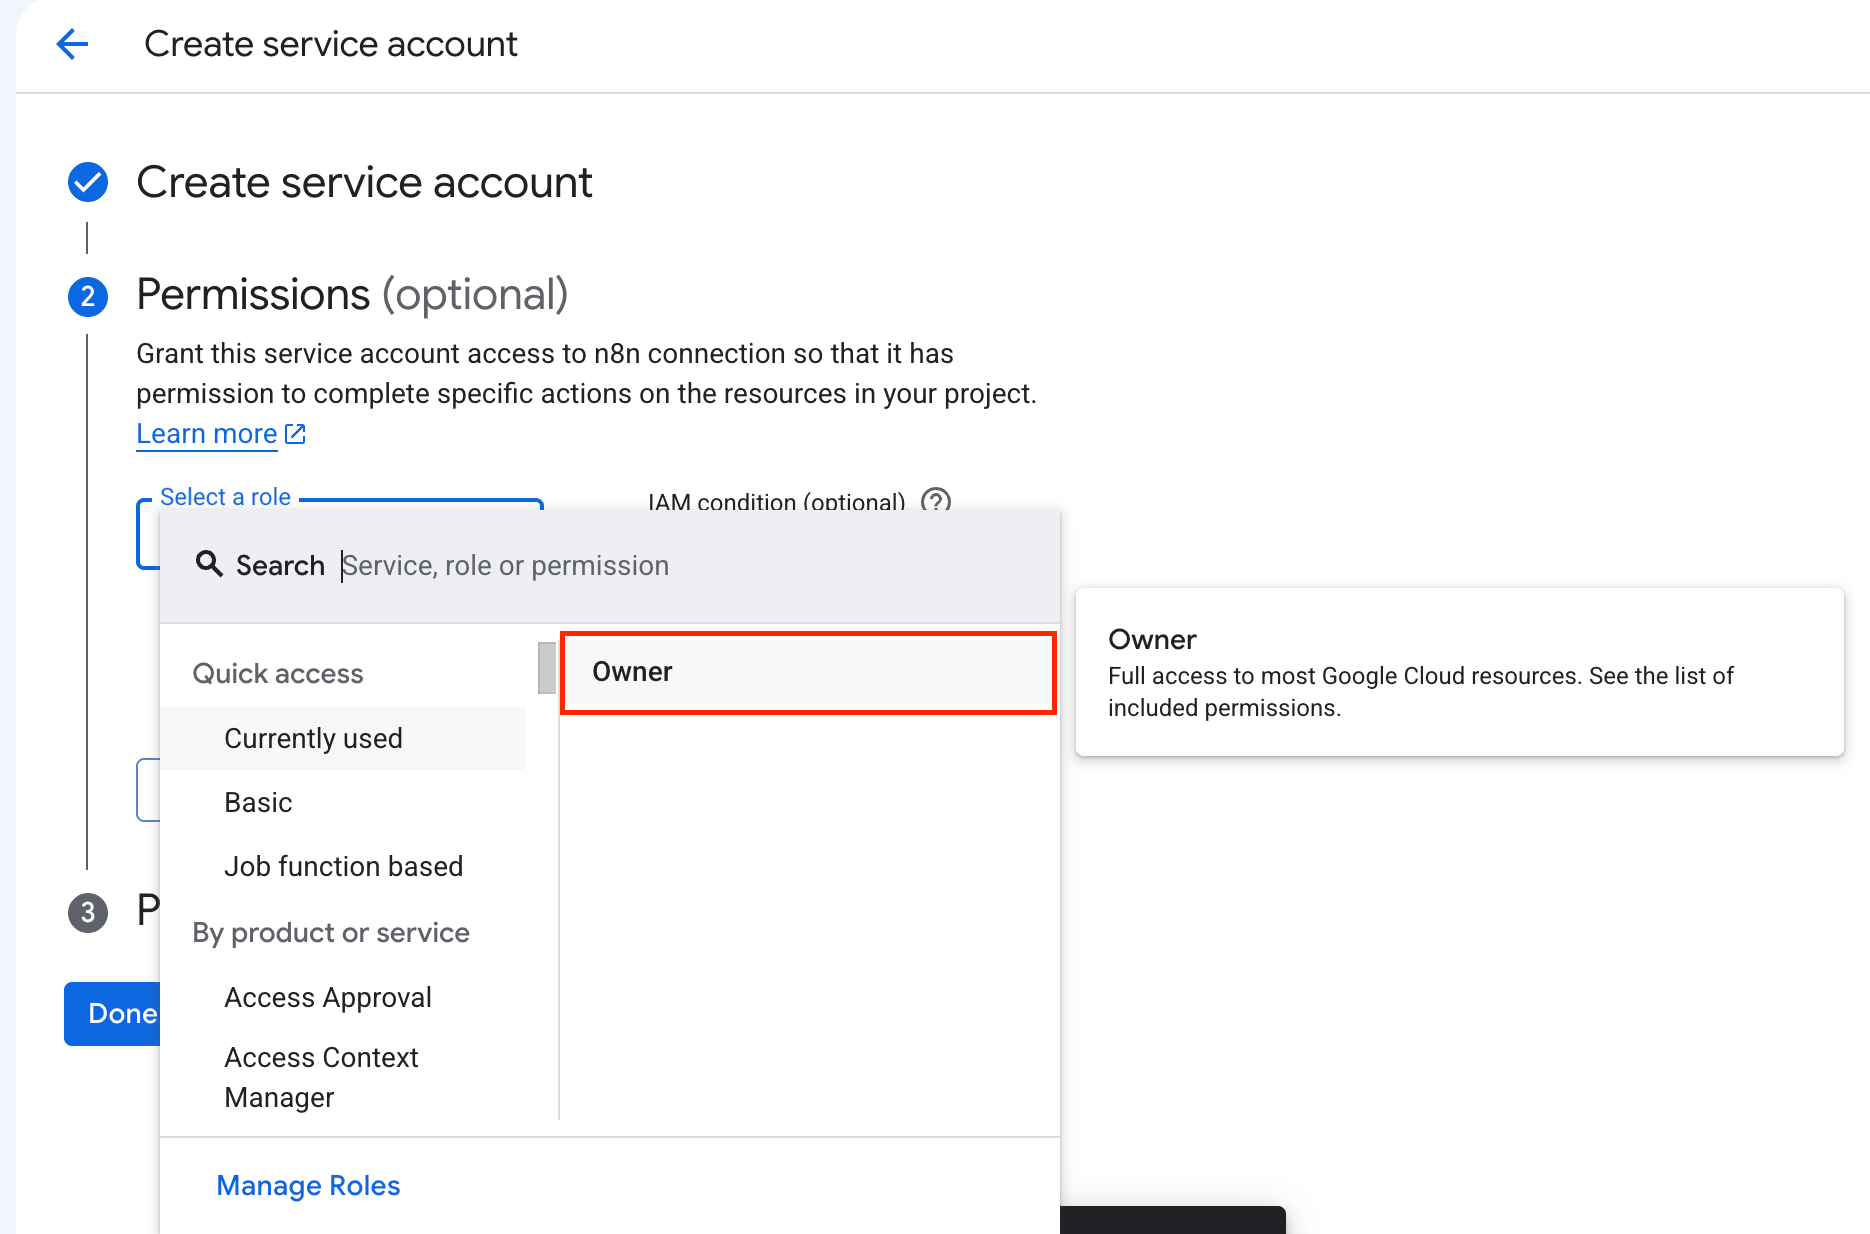
Step 2: Select Role
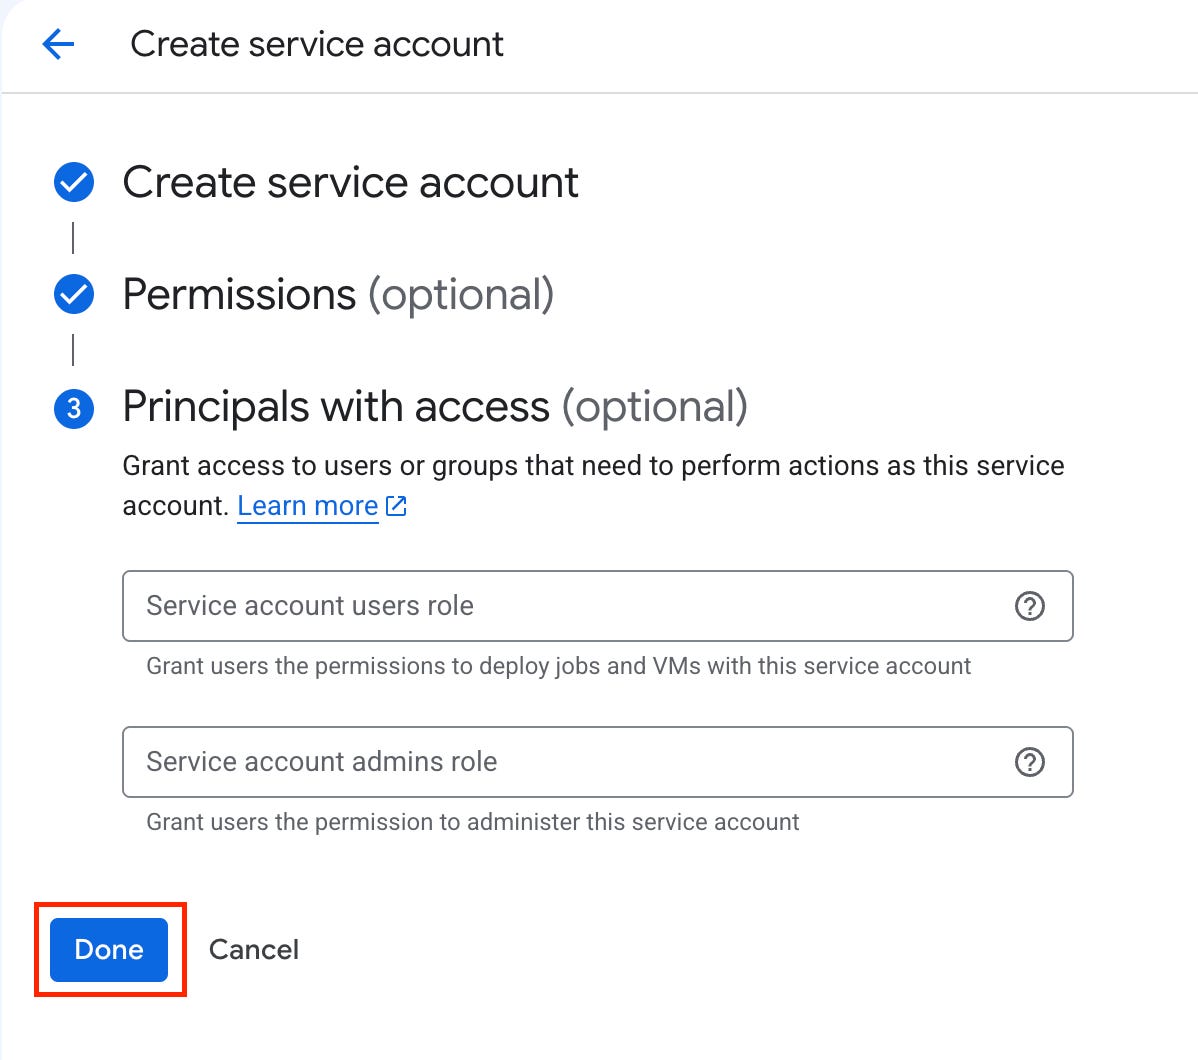
Step 3: Complete Service Account Creation
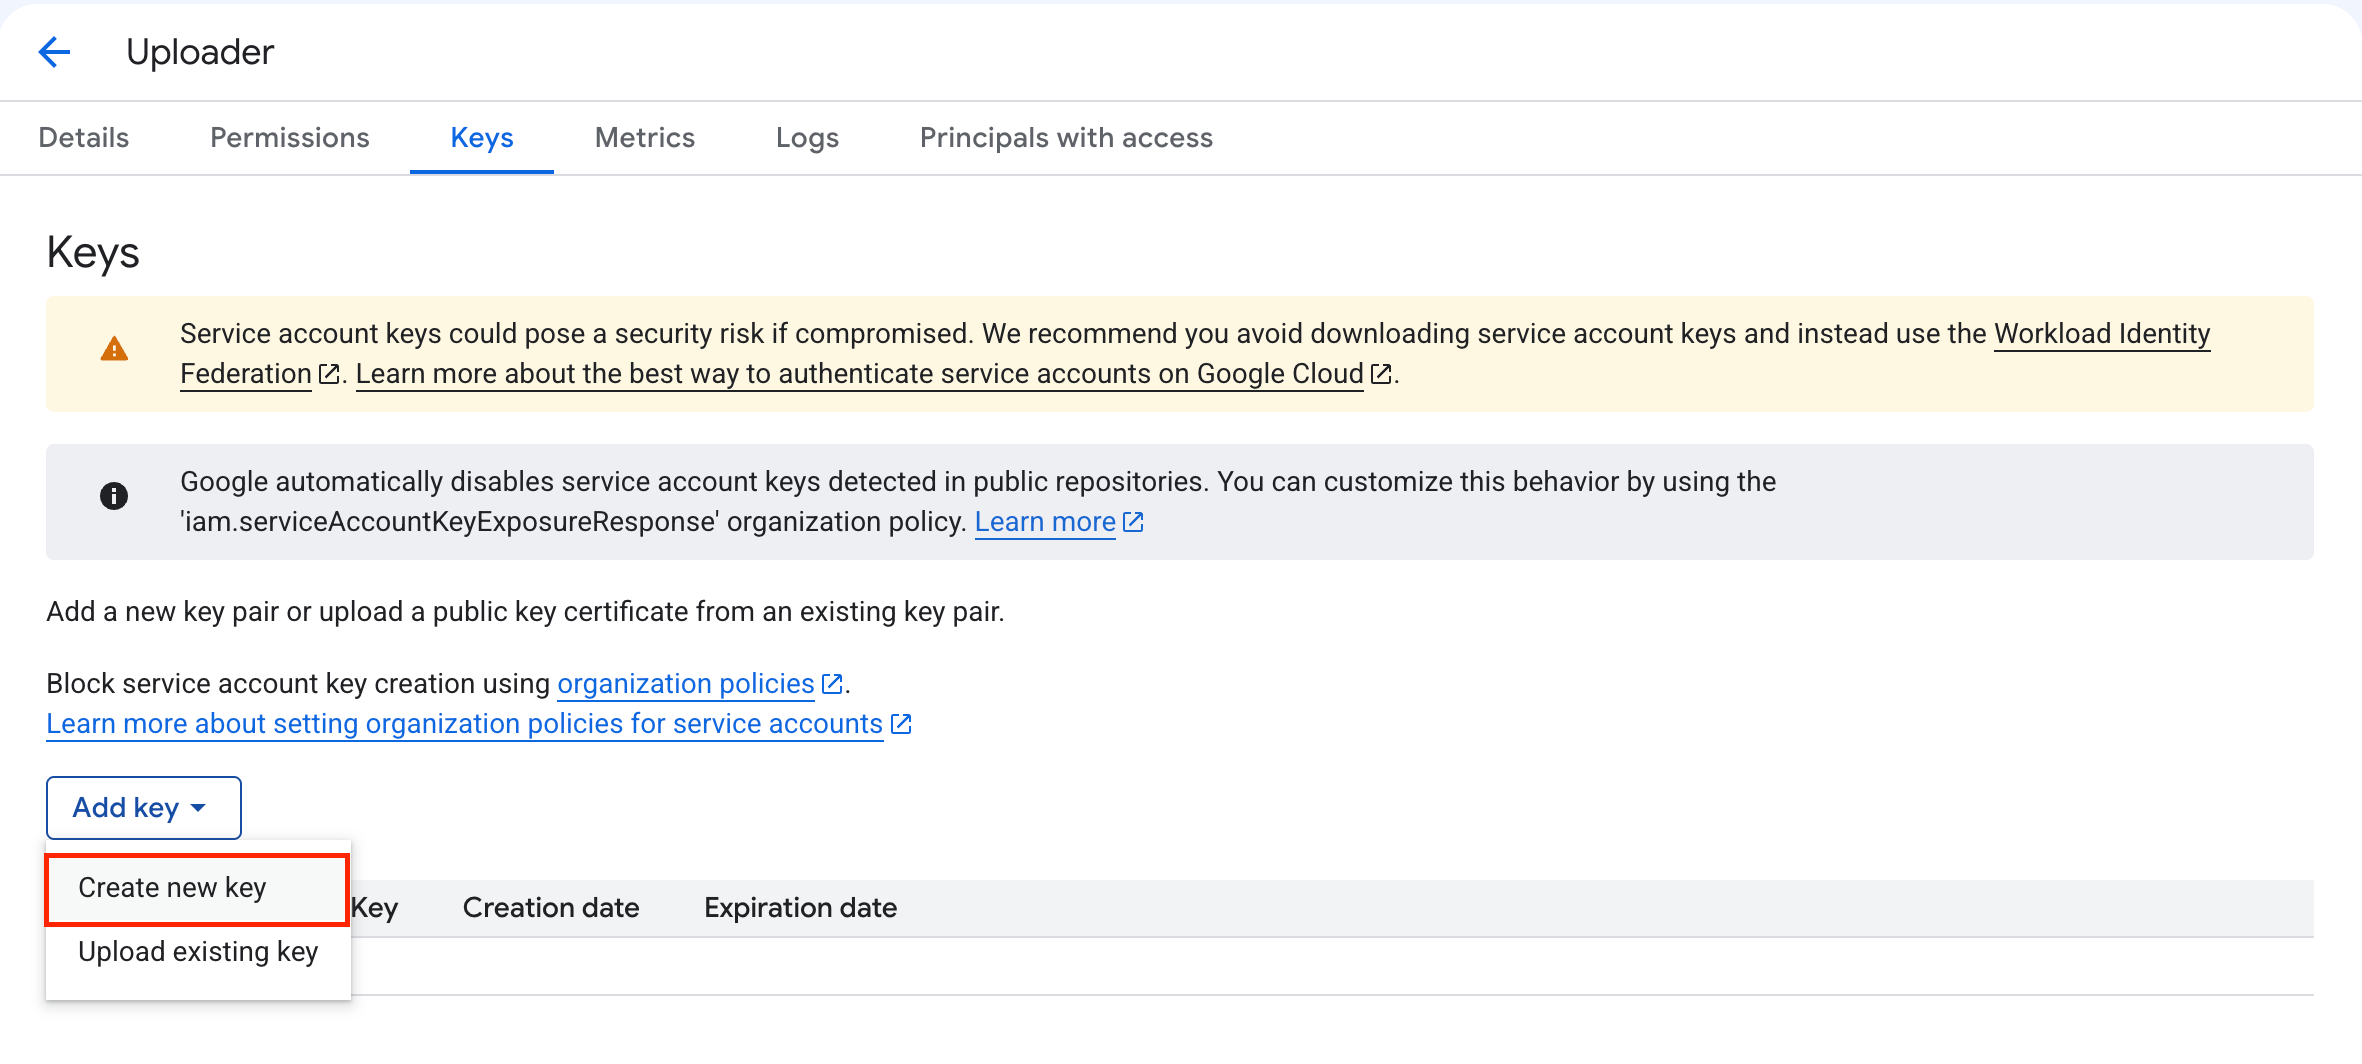
Step 4: Download the Private Key

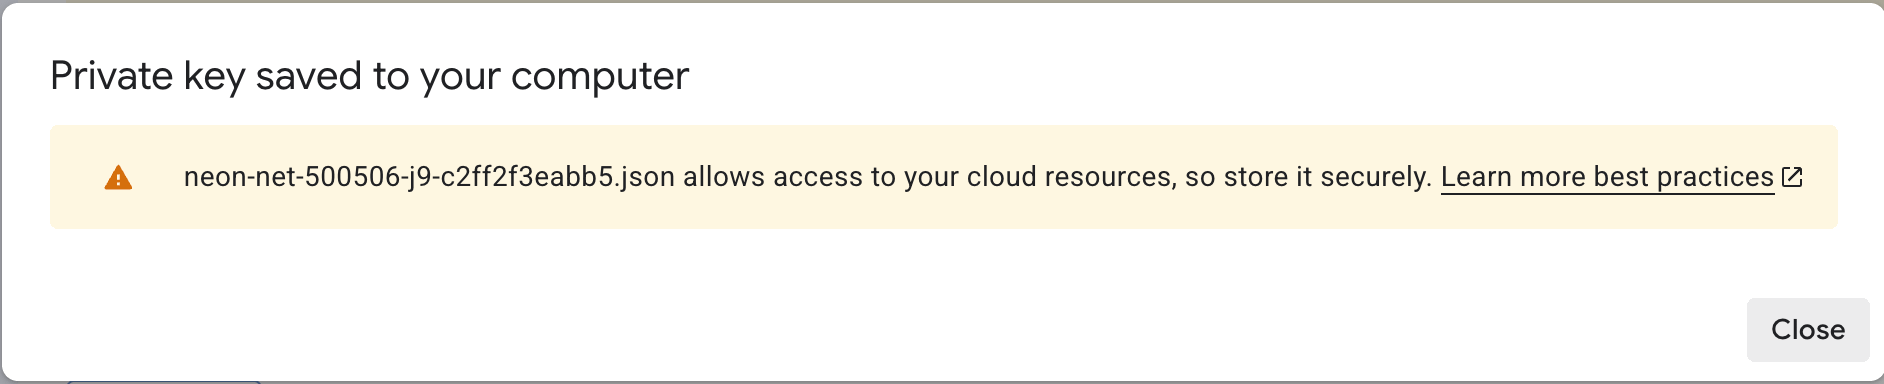
Step 5: Open the Private Key
The private key contains the following metadata
{
  "type": "service_account",
  "project_id": "XXX",
  "private_key_id": "XXX",
  "private_key": "-----BEGIN PRIVATE KEY-----XXXX-----END PRIVATE KEY-----\n",
  "client_email": "XXX",
  "client_id": "XXX",
  "auth_uri": "https://accounts.google.com/o/oauth2/auth",
  "token_uri": "https://oauth2.googleapis.com/token",
  "auth_provider_x509_cert_url": "https://www.googleapis.com/oauth2/v1/certs",
  "client_x509_cert_url": "XXX",
  "universe_domain": "googleapis.com"
}
Finally you can now test the authentication by passing the client_email and private_key in your own choice of tool like Postman, etc.