

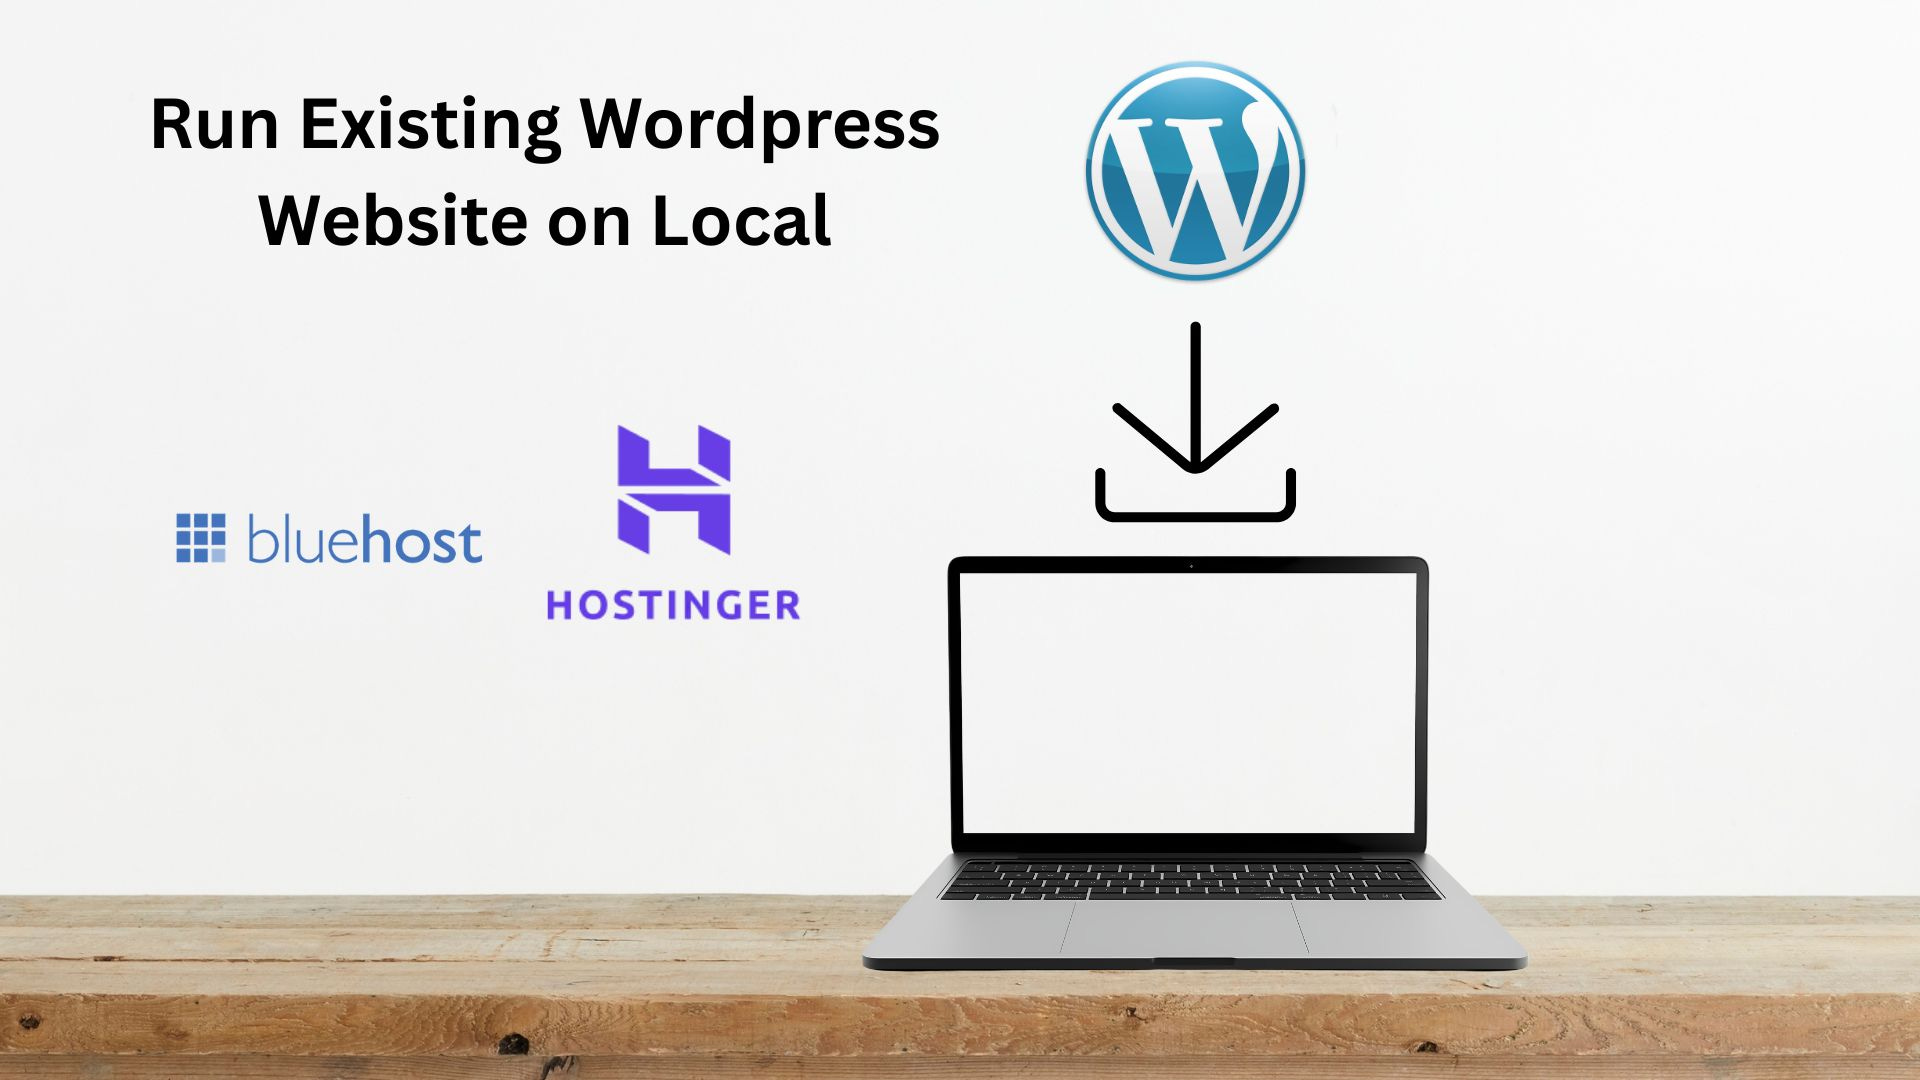
How to setup existing WordPress website on localhost using Docker
Enable local development, testing, versioning and minimize costs

If for some reason you are planning to cancel your current hosting renewal. Then decided to backup your files and database temporarily.
Don’t worry in this blog I will share how you can access those backup on your local
You can refer to your previous content while migrating to newer hosting provider
Minimize costs and deploy only once you’re ready
Do development and testing locally for faster iteration
Version your changes locally
1. Download the existing files and database from your hosting provider
Example
public_html.zip
database.sql
2. Spin up the container
Create a docker-compose.yml file
services:

  wordpress:
    image: wordpress
    restart: always
    ports:
      - 8080:80
    environment:
      WORDPRESS_DB_HOST: db
      WORDPRESS_DB_USER: XXX
      WORDPRESS_DB_PASSWORD: XXX
      WORDPRESS_DB_NAME: XXX
    volumes:
      - wordpress:/var/www/html

  db:
    image: mysql:8.0
    restart: always
    environment:
      MYSQL_DATABASE: XXX
      MYSQL_USER: XXX
      MYSQL_PASSWORD: XXX
      MYSQL_RANDOM_ROOT_PASSWORD: '1'
    volumes:
      - db:/var/lib/mysql
    ports:
      - 3306:3306

volumes:
  wordpress:
  db:
When entering ENV variables values it is important to use the existing username, password and database name from your hosting provider. You want to simulate the existing wordpress on your local machine
We expose the port 3306 of the database so that we can access the database using Database GUI like MySQL Workbench or so on.
After checking the values run the command
docker-compose up -d3. Copy WordPress Files to Docker Container
Assuming your files are in ~/hostinger_backup/public_html:
docker cp ~/hostinger_backup/public_html/. wordpress:/var/www/htmlNote: wordpress is the name of the wordpress container. Run docker ps to check the container name
Tip: Use the dot . to copy contents, not the folder itself.
Then fix permissions inside the container:
docker exec -it wordpress bash
chown -R www-data:www-data /var/www/html
chmod -R 755 /var/www/html
exit
4. Import Database into Docker MySQL
a. Copy the sql file into the container
docker cp ~/hostinger_backup/backup.sql wp-db:/backup.sqlNote: wp-db is the name of database container. Run docker ps to check the container name
b. Import it
docker exec -it wp-db bash
mysql -u XXX -p
wordpress < /backup.sqlEnter the MySQL password
c. Update site URLs if domain changed:
USE wordpress;
UPDATE wp_options SET option_value='http://localhost:8080' WHERE option_name='siteurl';
UPDATE wp_options SET option_value='http://localhost:8080' WHERE option_name='home';
Adjust http://localhost:8080 to your new domain if needed.
5. Update wp-config.php
Inside /var/www/html/wp-config.php, make sure the database credentials match your Docker setup:
define('DB_NAME', 'XXX');
define('DB_USER', 'XXX');
define('DB_PASSWORD', 'XXX');
define('DB_HOST', 'db');
Common Mistakes when setting DB_HOST
localhost or 127.0.0.1 is being used instead of db
localhost refer to the wordpress container itself, by using db (service name) docker can resolve it to proper ip address
6. Test your Local Setup
Finally access the site using localhost:8080
Note: If you want to develop and test locally you can change
 volumes:
      - wordpress:/var/www/html
to
 volumes:
      - /path/to/your-folder/:/var/www/html